Tiny house progress
I last attempted an update post before Halloween. The draft sat, and now that I finally got back to it, it was kind of... out of date. So, starting from scratch: this is what I have done! *** fun fact, this update itself was started a month ago, before I got distracted***
First, the roof is done, and the chimney is done. Yeah!
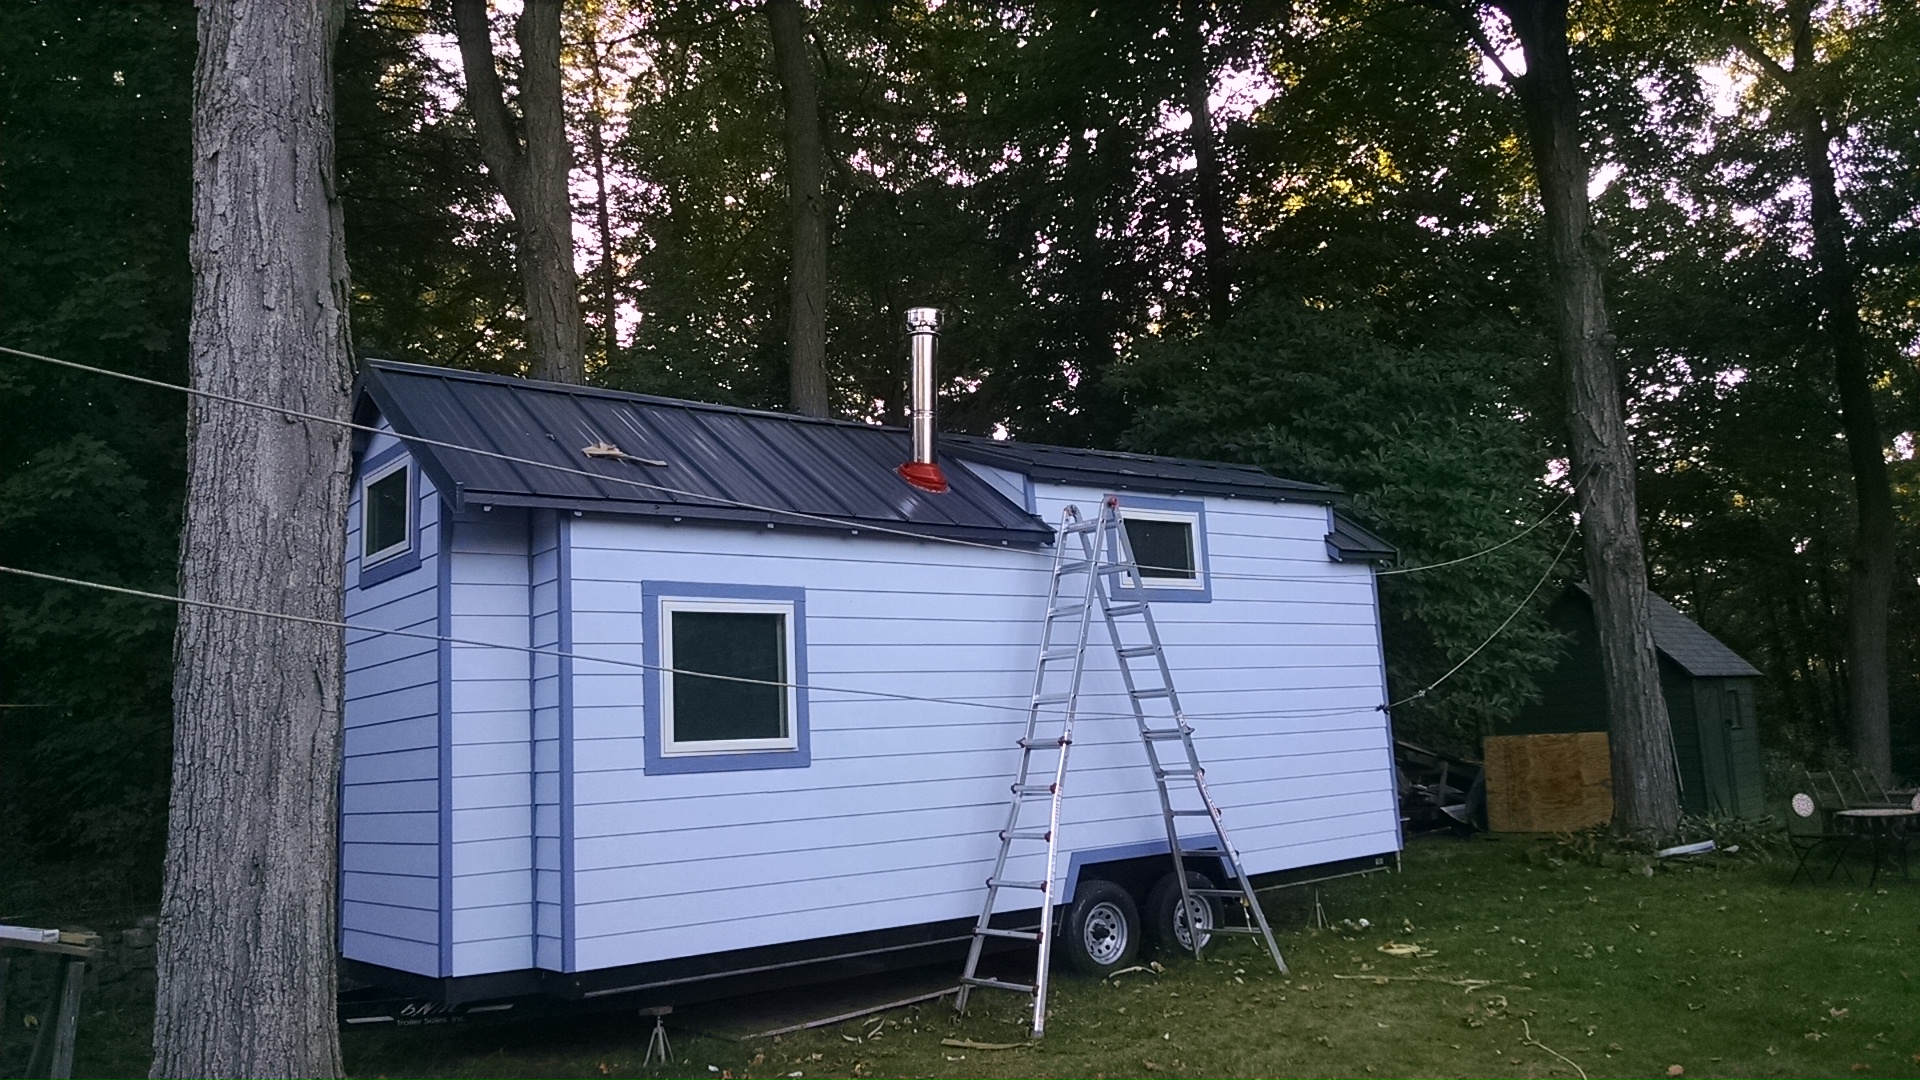 my chimney is up!
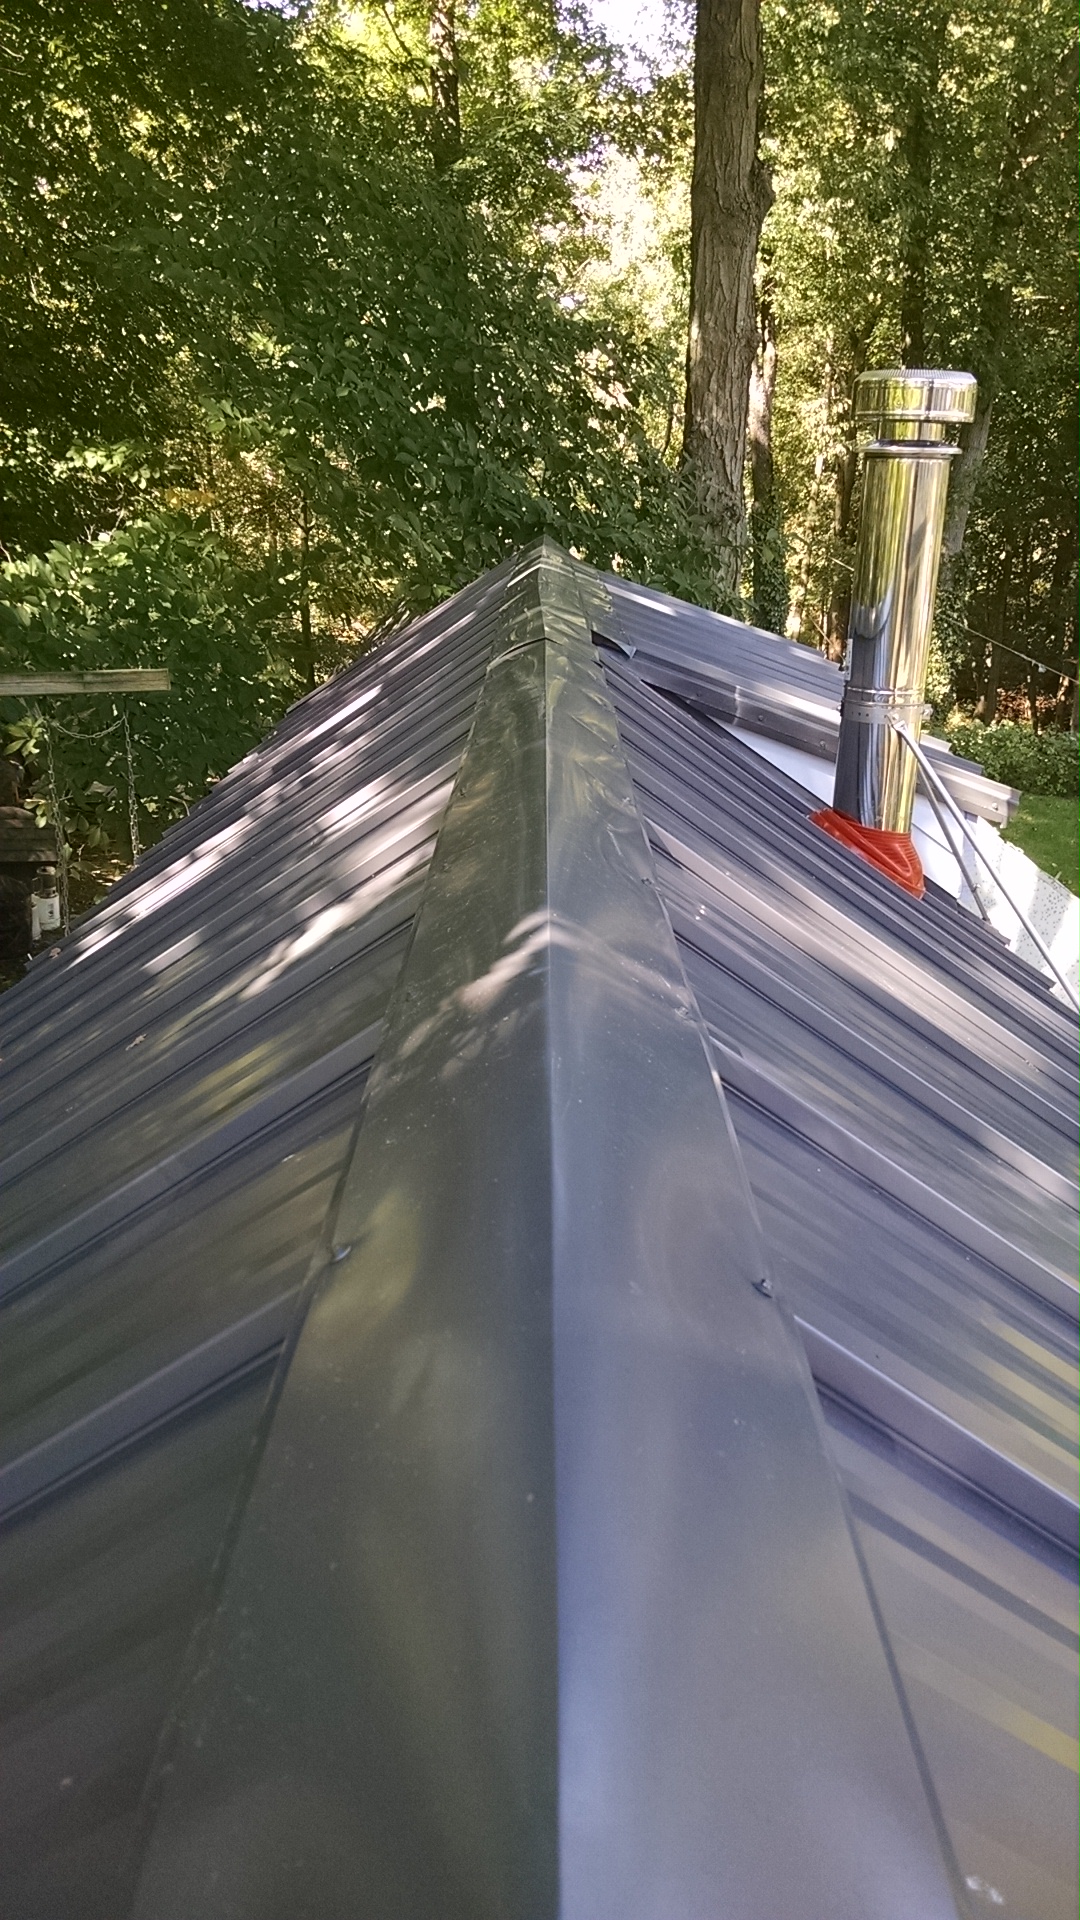 a view along the ridge
I'm really happy with how the roof turned out. I'm not happy with how much work it was. Most of the hard work was my fault. I'd never done anything like this before (a steel roof, or a dormer), so there were some mistakes in my design. For example, the standing seam roof comes in pieces sixteen inches wide. The total length of my roof is not an even multiple of sixteen. If I had made the roof four inches longer --just an extra two inches of overhang on the front and back-- I wouldn't have had to spend the several hours trimming and custom bending the end pieces.
And the dormer. Frankly, I regret the dormer. I don't regret the extra space that it gives me, but shoot, why didn't I just extend it the whole length? As in make the entire slope of the "rear" (dormer) side of the roof at the same slope as the dormer. The extra room in the dormer section over the bathroom loft is awesome, I can sit against the wall and still have headroom, something I can't do in the kitchen loft. But choosing to do a dormer, I have less room over all in my lofts, and had to pay much more in extra materials, and the extra work involved in framing and detailing the dormer, it was a ridiculous pain in the ass. And at the end of the day, for all that extra trouble I get less space. It brings to mind a comment I read on some building science site about roofing, "If you have a dormer on new construction then you designed the roof wrong." (A horrible misquote, but I don't feel like trying to find the page again. The idea the author expressed was that dormers, particularly shed dormers, were traditionally added afterwards, when remodeling a house, usually when someone decided that they could turn the attic into a bedroom if they just put a dormer in. If you're building from scratch, design the amount of space you need in at the beginning.)
Another thing I regret: putting plumbing in the exterior walls. It makes for a lot of extra work. A better design would have avoided the extra work: cutting insulation around all the pipes, putting extra holes through my wall studs, special framing... too much extra work. But since I'd never built anything like this before, I didn't know when I was designing it what I was getting myself into. The plumbing issues deserve a post of their own, and I may get to it someday. For now let it suffice to say that if I ever build another tiny house, the plumbing layout will be completely different. But, on the bright side, the plumbing is almost done. I haven't bought a water heater yet, and the sinks aren't connected yet, so there is still work to do, but the pipes are all where they need to be, the shower is installed, and the walls are insulated and closed up over the pipes. I probably should take some more pictures, but it's so damn dirty inside.
It's January as I write this, and the cold weather is putting a damper on how much work I get done. I try to put in a couple of hours every day, at least, but when I start shivering I come inside. I do have other things to do.
One detail I'd like to write about is how I framed around the fenders. The fenders are metal and exposed directly to the outside. I thought it was important to make sure that they were completely isolated from the rest of the inside. I will eventually be inserting a final piece of 1.5" foamboard in the top gap and then cover the whole thing with plywood. The frames are pretty rigid so standing on them never transfers weight to the fender itself.
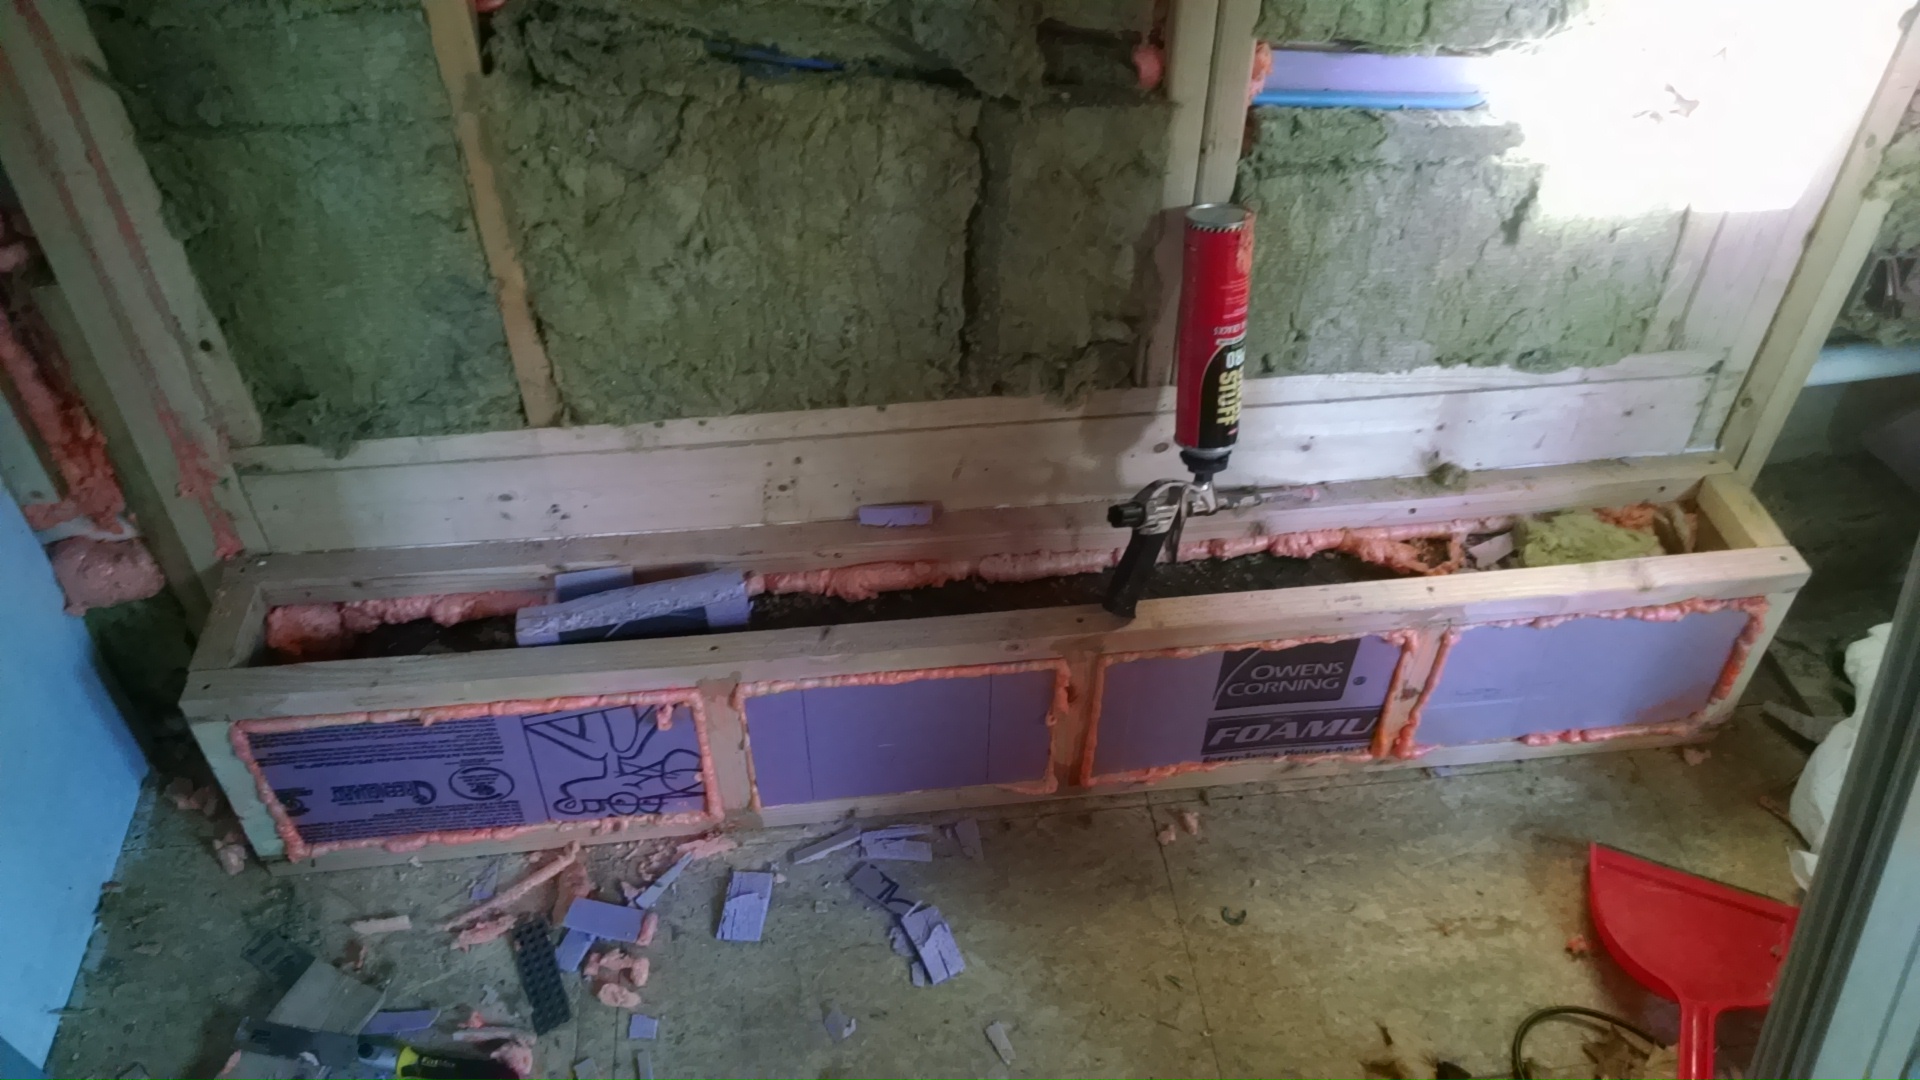 the framing over the fenders; 2x2s with foam blocking to seal and insulate it