My second loft is _almost_ finished!
My second loft, AKA the "bathroom loft" or "back loft", is now [almost] finished [pats self on back]. (Fun fact: this post was sitting in my draft folder titled "My second loft is finished!" for two weeks, while other obligations/projects kept me from putting the final touches on it --the loft, not the post.)
This loft had to be considerably different from the first for several reasons. The number one reason was that the kitchen loft was meant to have the underside of the loft boards visible, but the bathroom has to have a ceiling of its own (to keep sounds, smells and moisture out of the loft). This meant I had to come up with a way to suspend a lightweight ceiling from the bottom of the loft and keep everything tight.
Another major difference is the bathroom under this loft is going to be enclosed --walls and a sliding door, so I had to figure out how I wanted to build them.
The loft started the same, with unistrut joists and a cherry beam/joist for the front edge of the loft. Before I put up the beam, I made two wall sections for underneath it, and set the beam on top of the wall before fixing it in place.
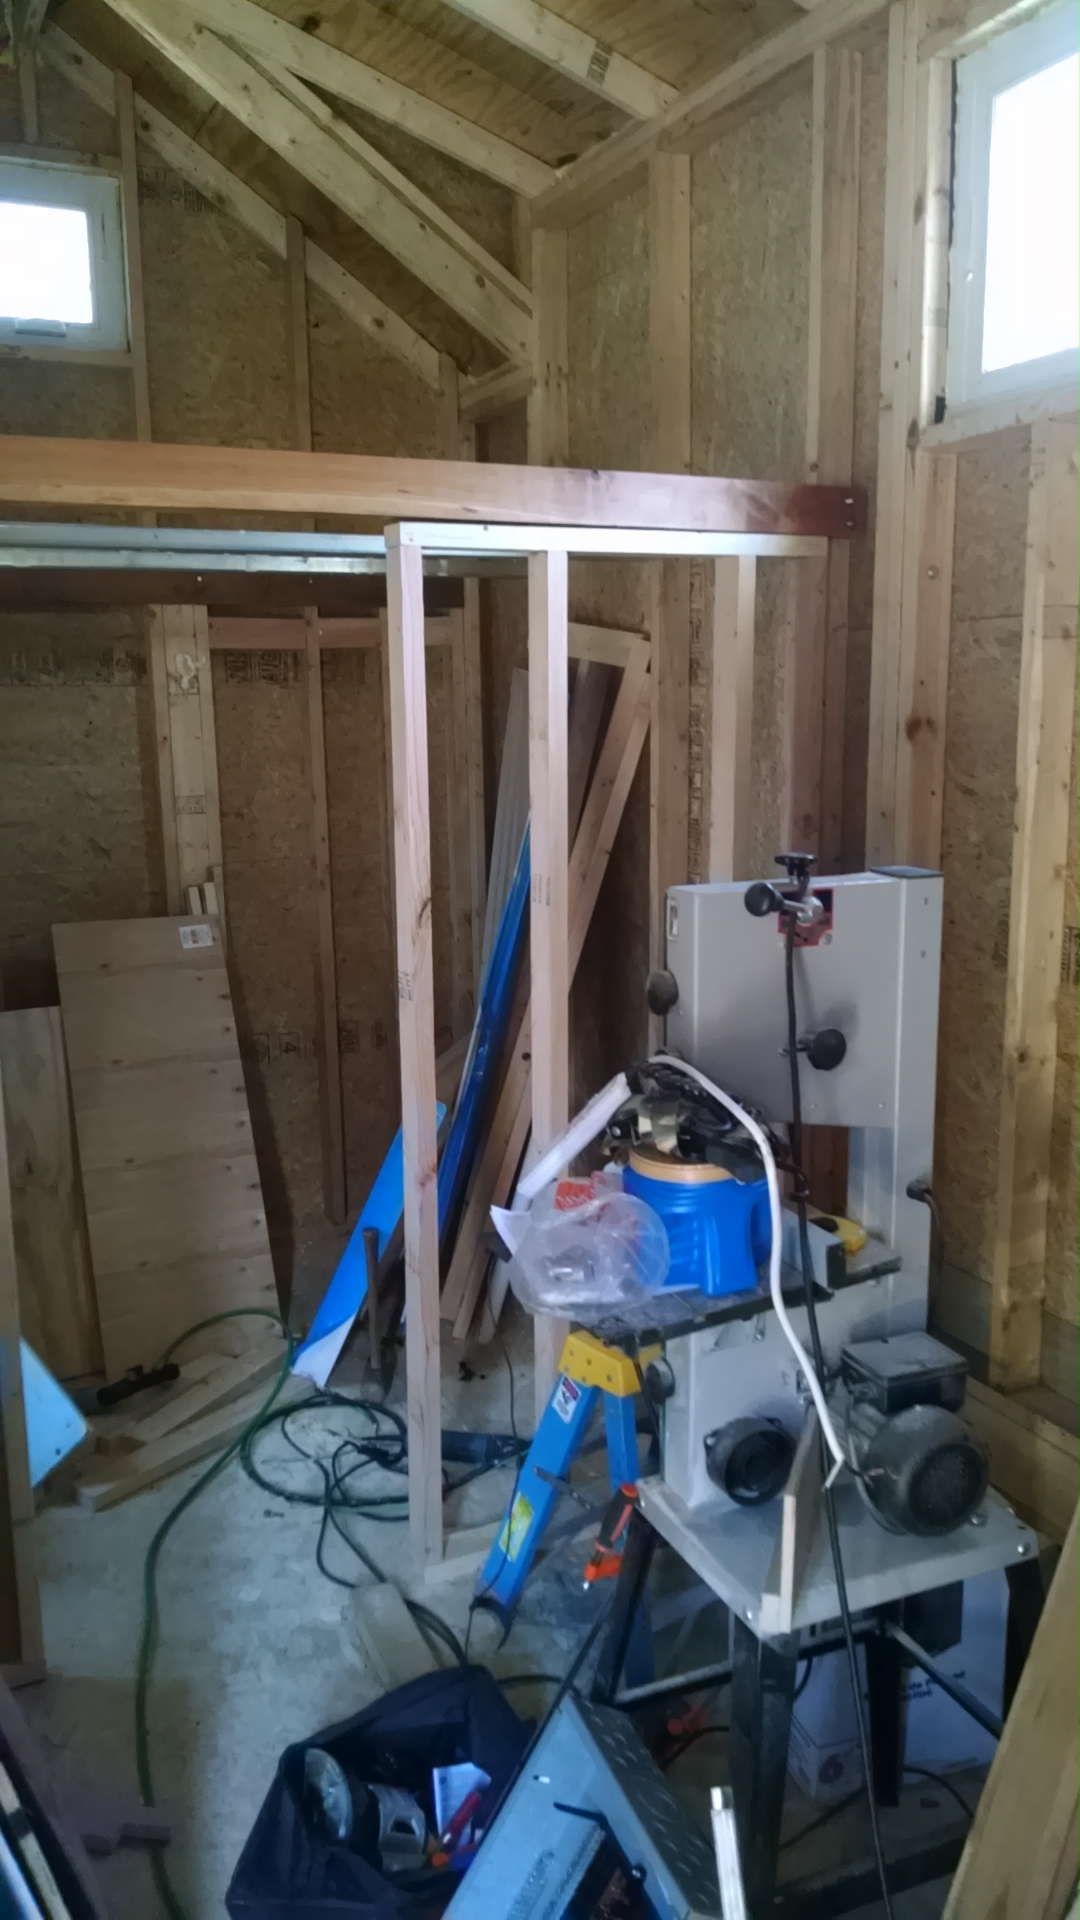 a wall section supporting the beam before it gets attached
The first section was normal 2x4 stud wall thickness, because it had to hold the electrical breaker box. The second section was thin, because the bathroom door had to slide in front of it. I bought pocket door hardware at Home Depot, but am only building half of the pocket, so the door will be visible when it's open.
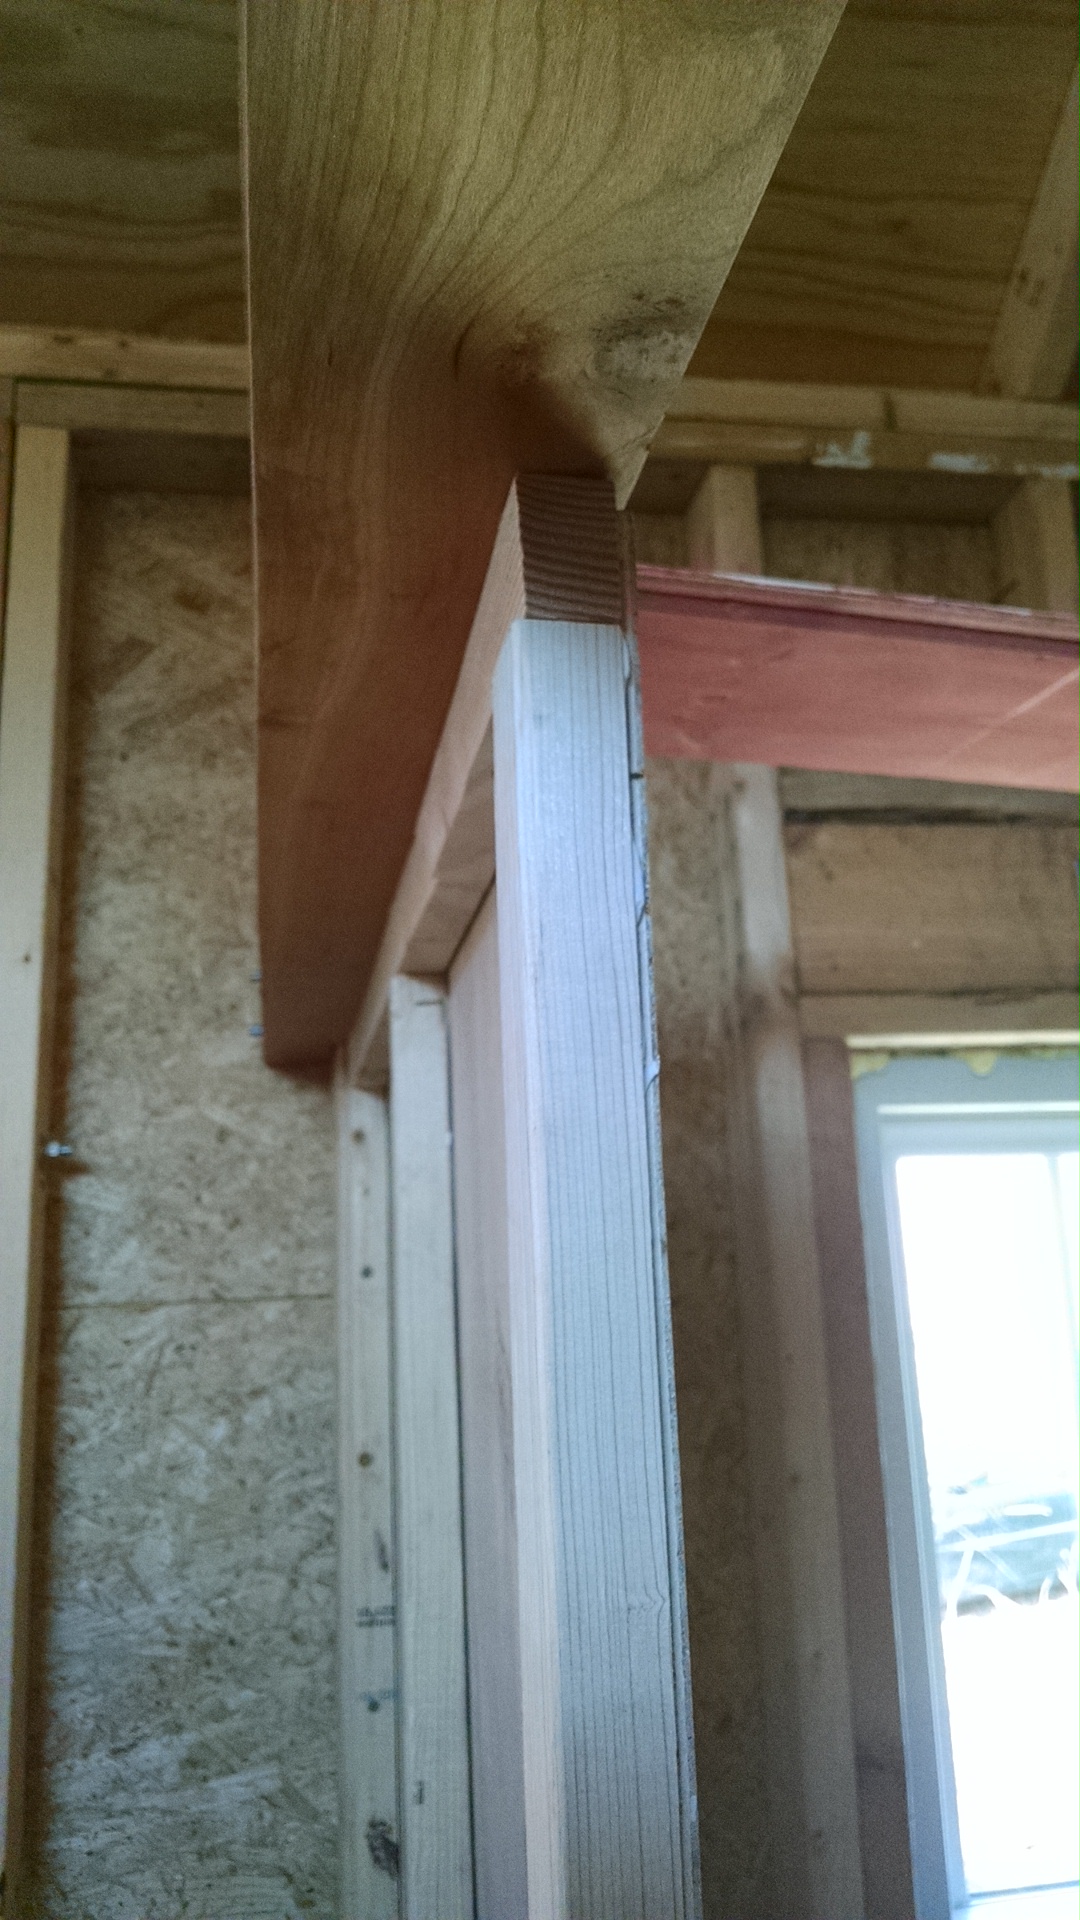 the thin bathroom wall, showing how it's offset under the beam to make room for a sliding door
I put a skin of thin (5mm) plywood on each wall, and mounted my electrical box in one, and then filled the other with foam. The idea was the foam would help block some bathroom noise, and make the wall sound less cheap and hollow. I can't really tell if it does anything or not, so if I had a do-over I probably would skip the foam.
 electrical box mounted in wall
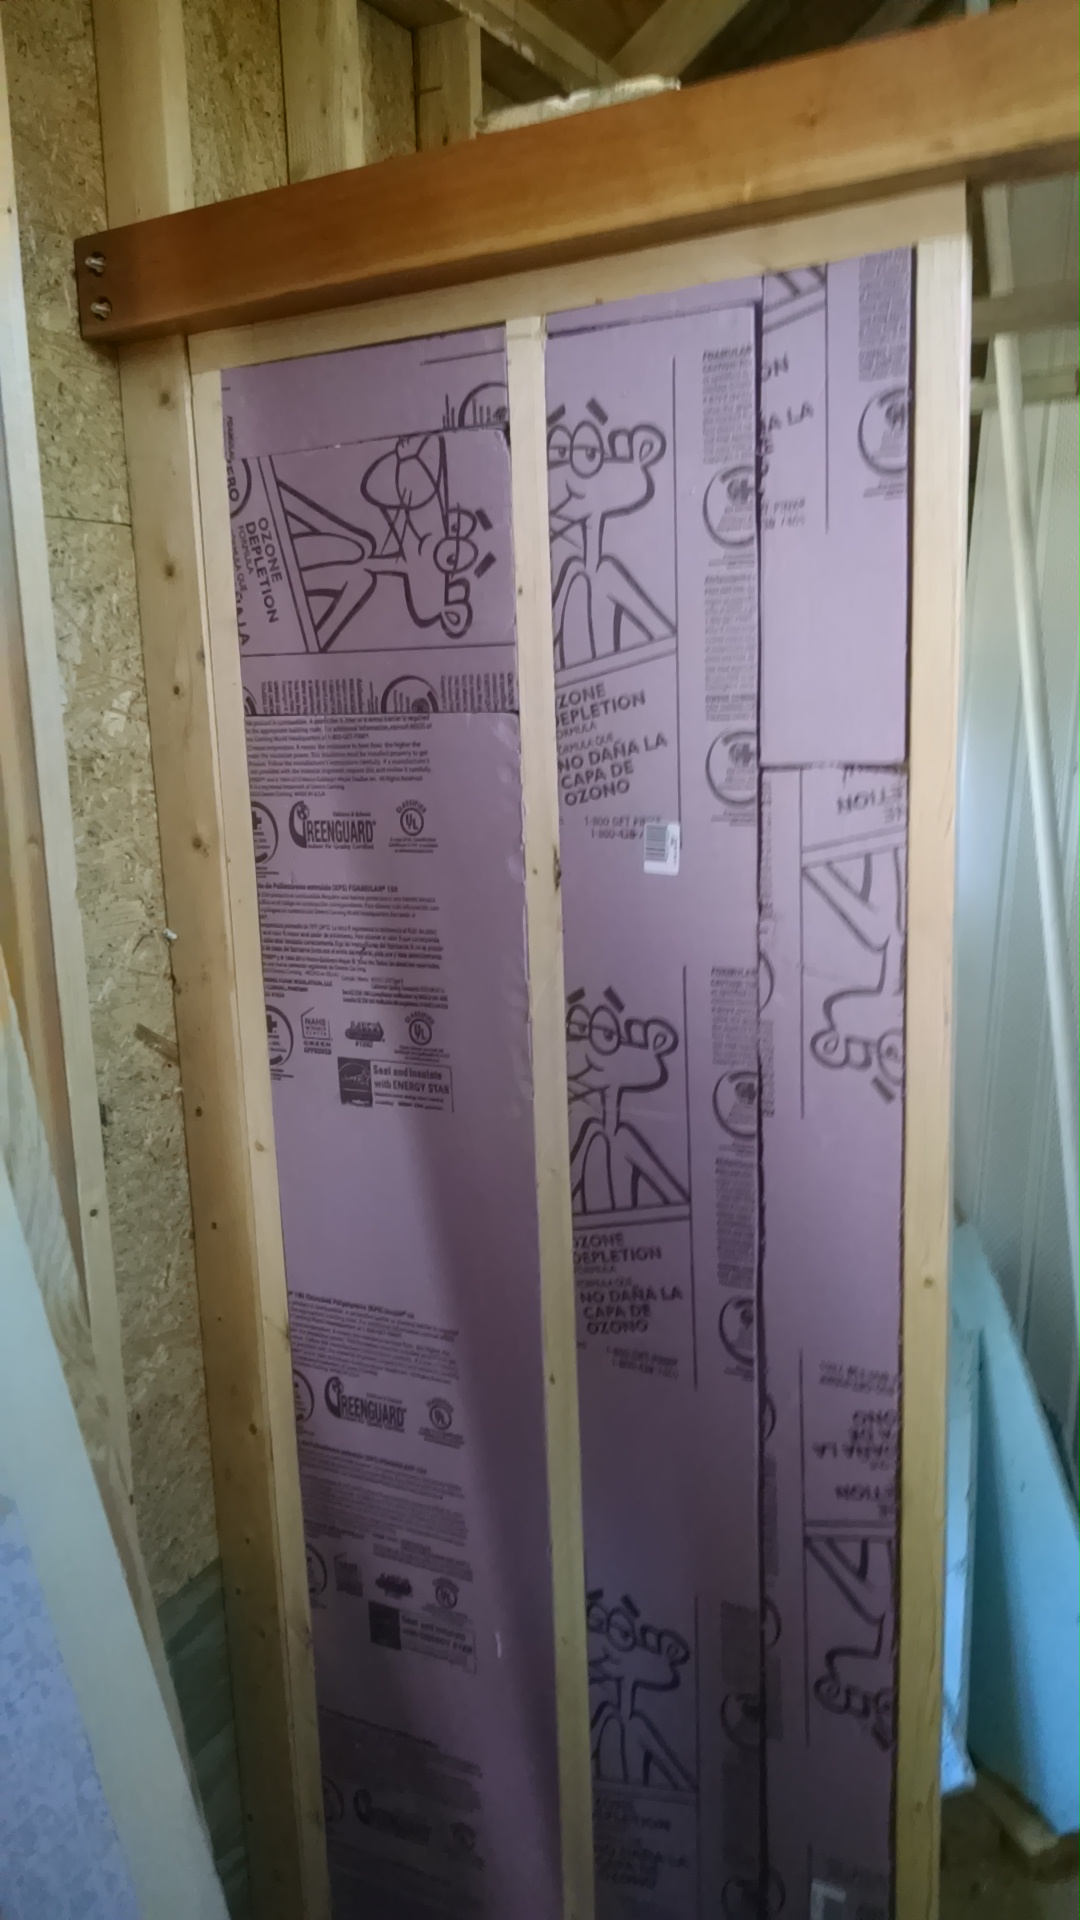 pieces of rigid foam glued into my thin bathroom wall
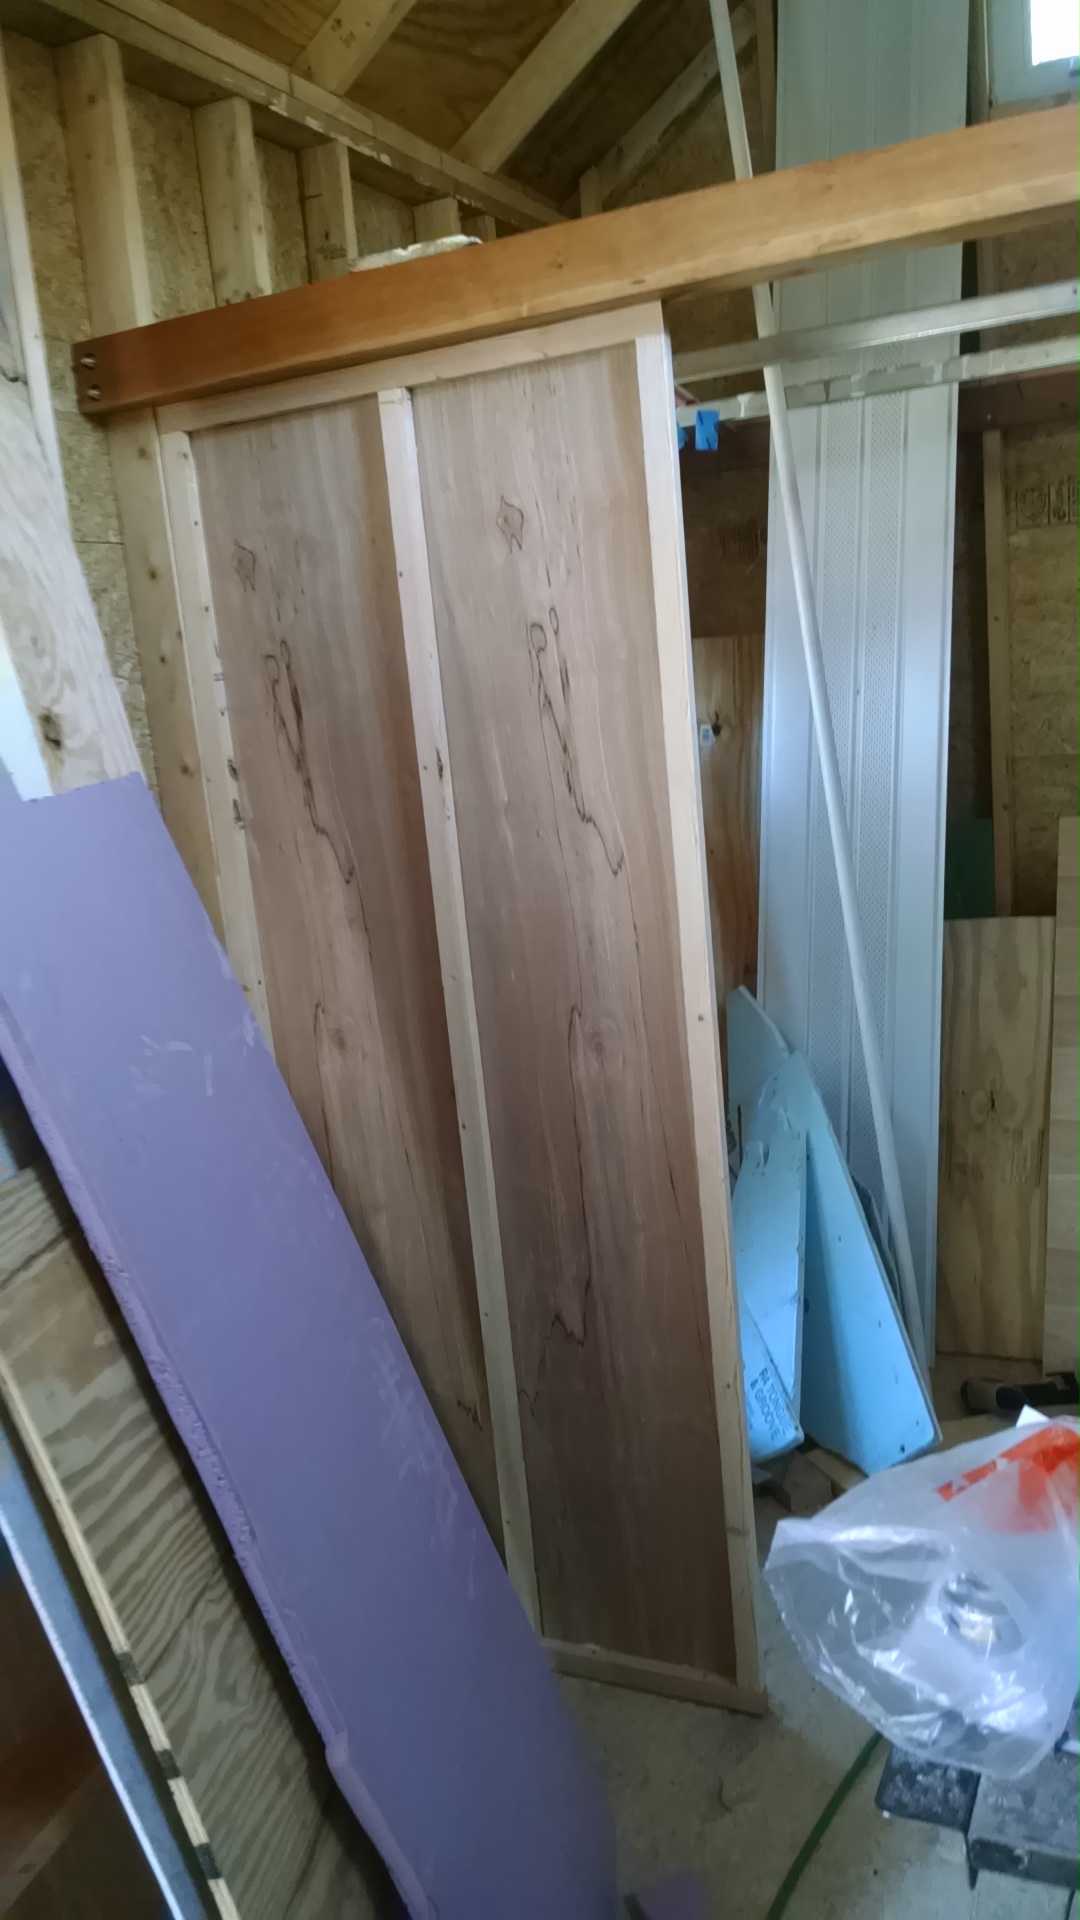
Next I put a reclaimed lumber front skin on my thin wall. This really is reclaimed lumber: most of it was originally siding and trim saved during the demolition of
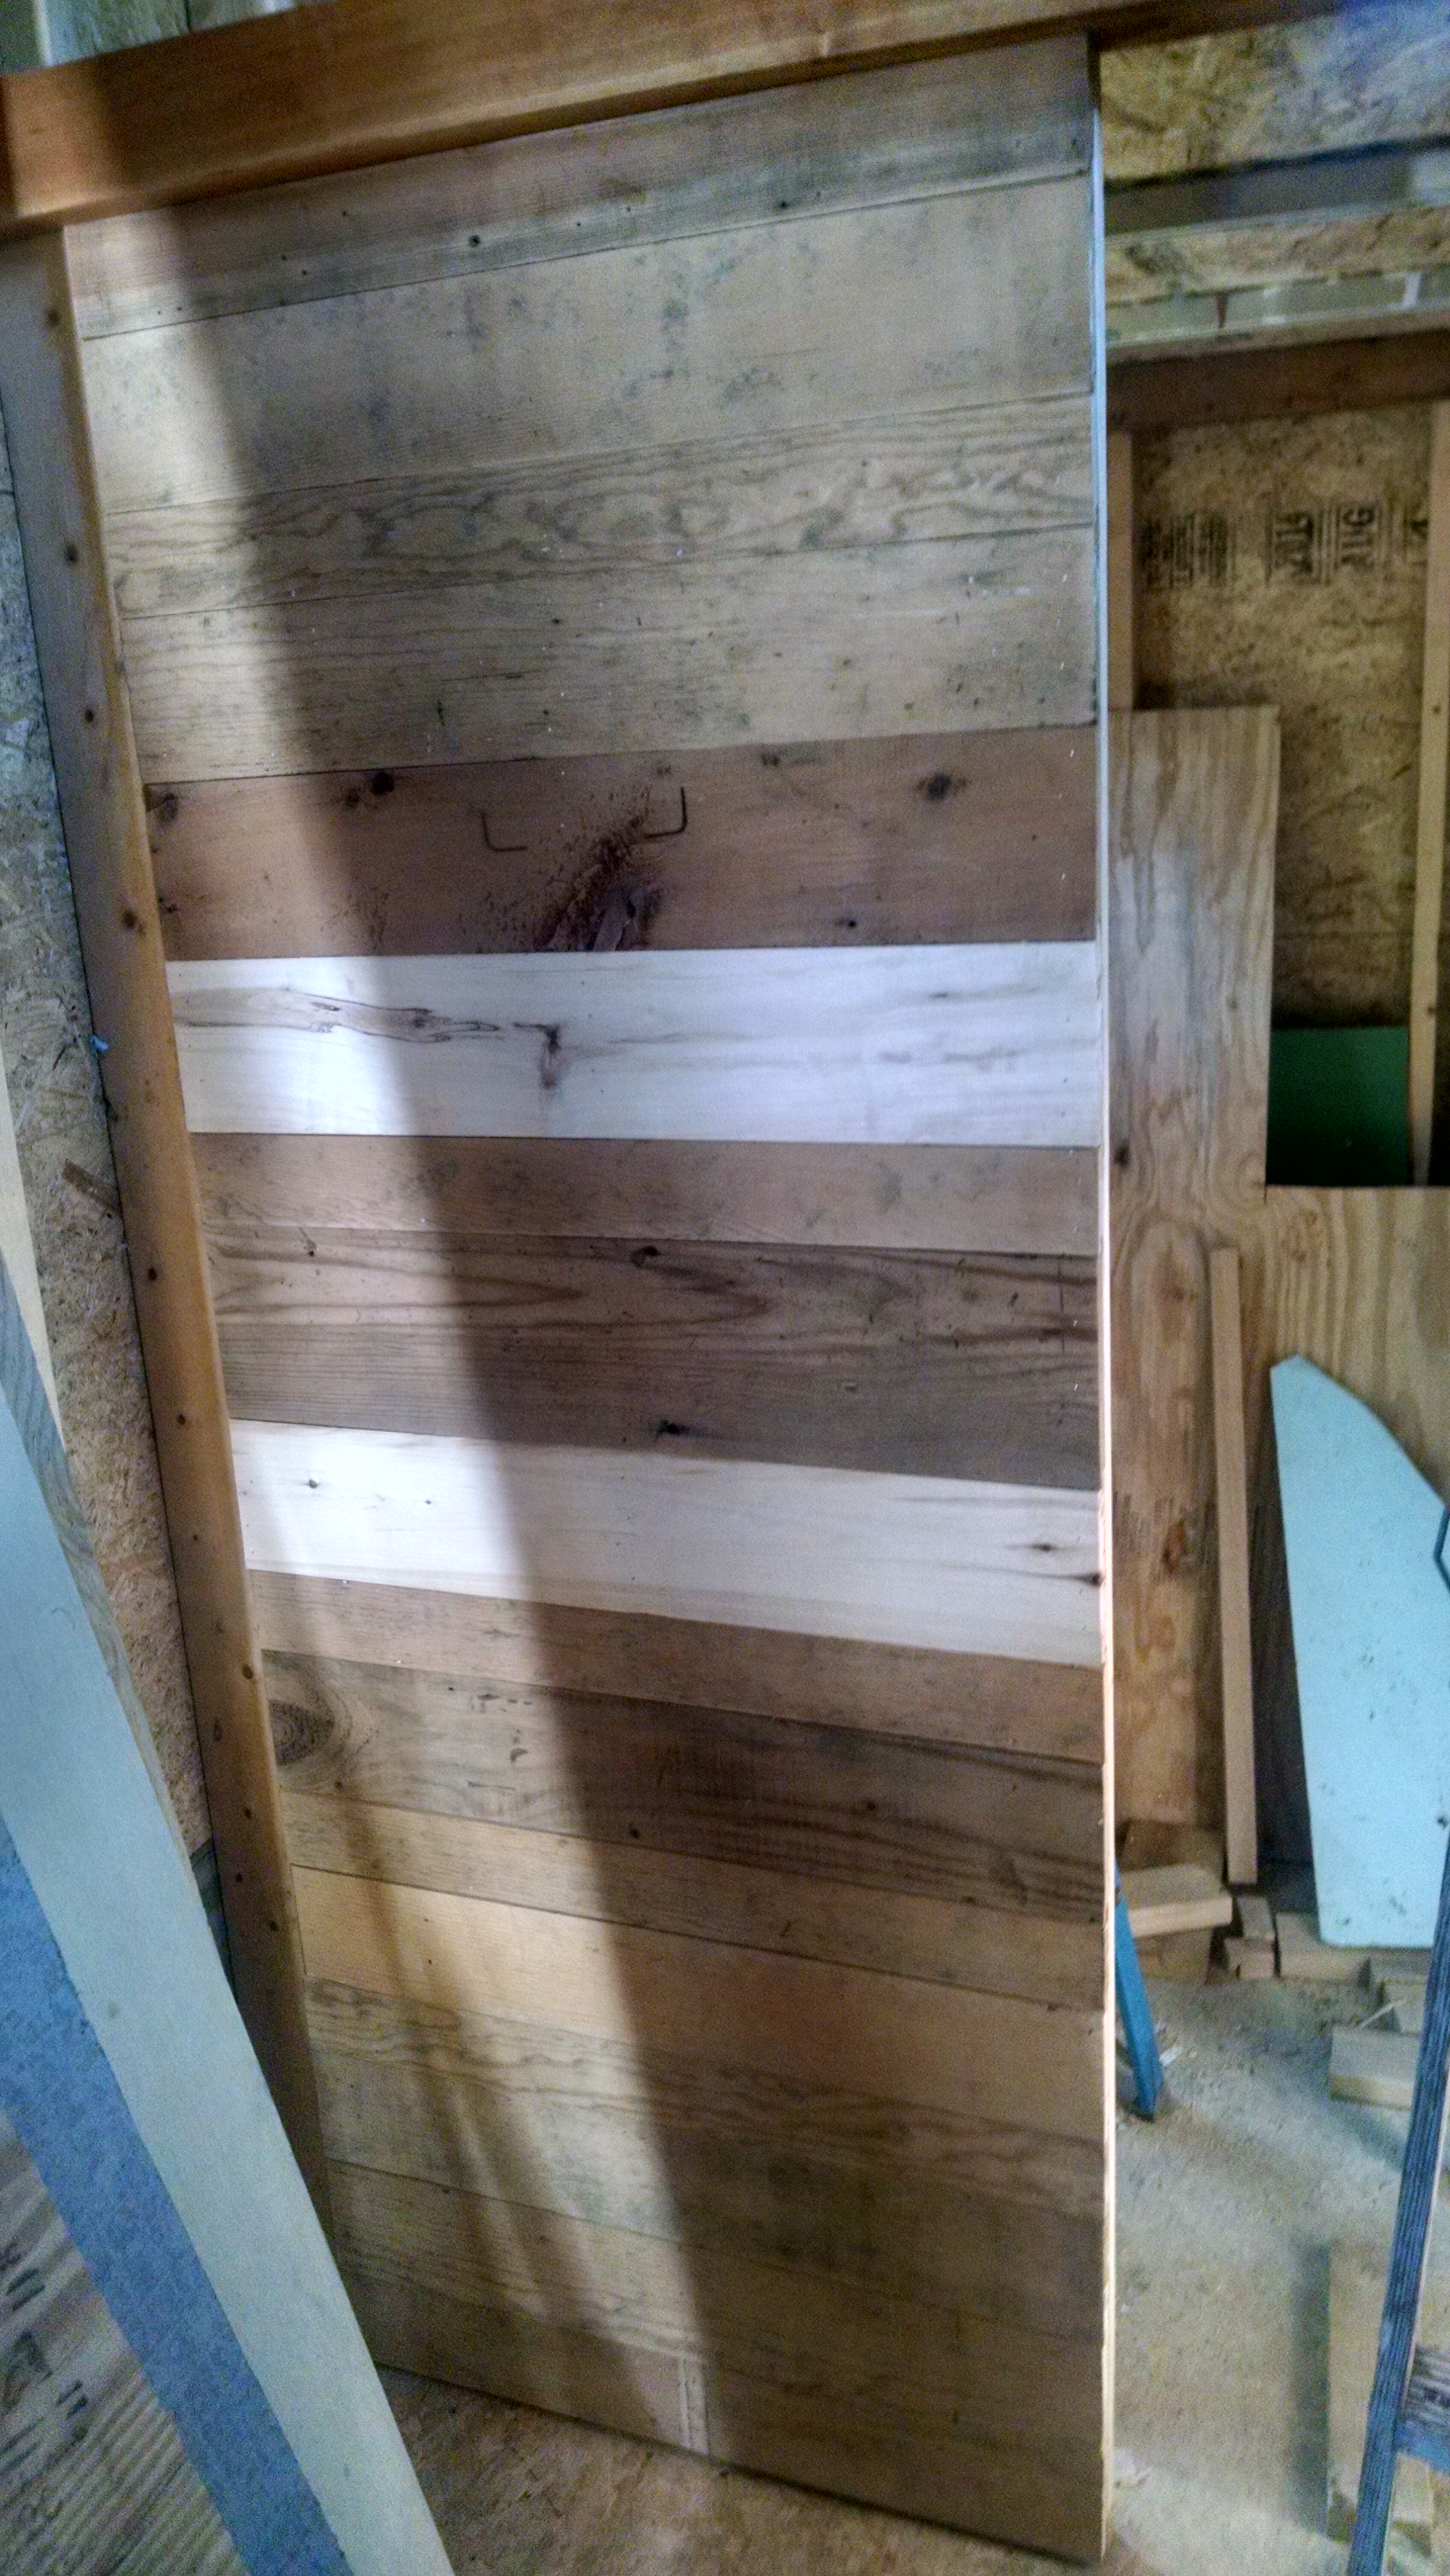 reclaimed wood used as the skin on the bathroom wall; I treated it with boiled linseed oil after this picture was taken to pretty it up a little bit
After the walls were up, I put 5/8" tongue-and-groove OSB over the joists and screwed and bolted everything together nice and tight. I later stained and sanded the top of the OSB, then put on a couple of coats of poly. It turned out okay. I didn't want to put too much effort into finishing this floor because it will be almost completely covered by a mattress.
In fact, it is now covered by a mattress. I had an old futon mattress, so I tossed it up into the loft to get a feel for it. I've gotta say, I like it. Sleeping with the mattress oriented this way (rather than in line with the main axis of the trailer) puts the headroom in exactly the right spot.
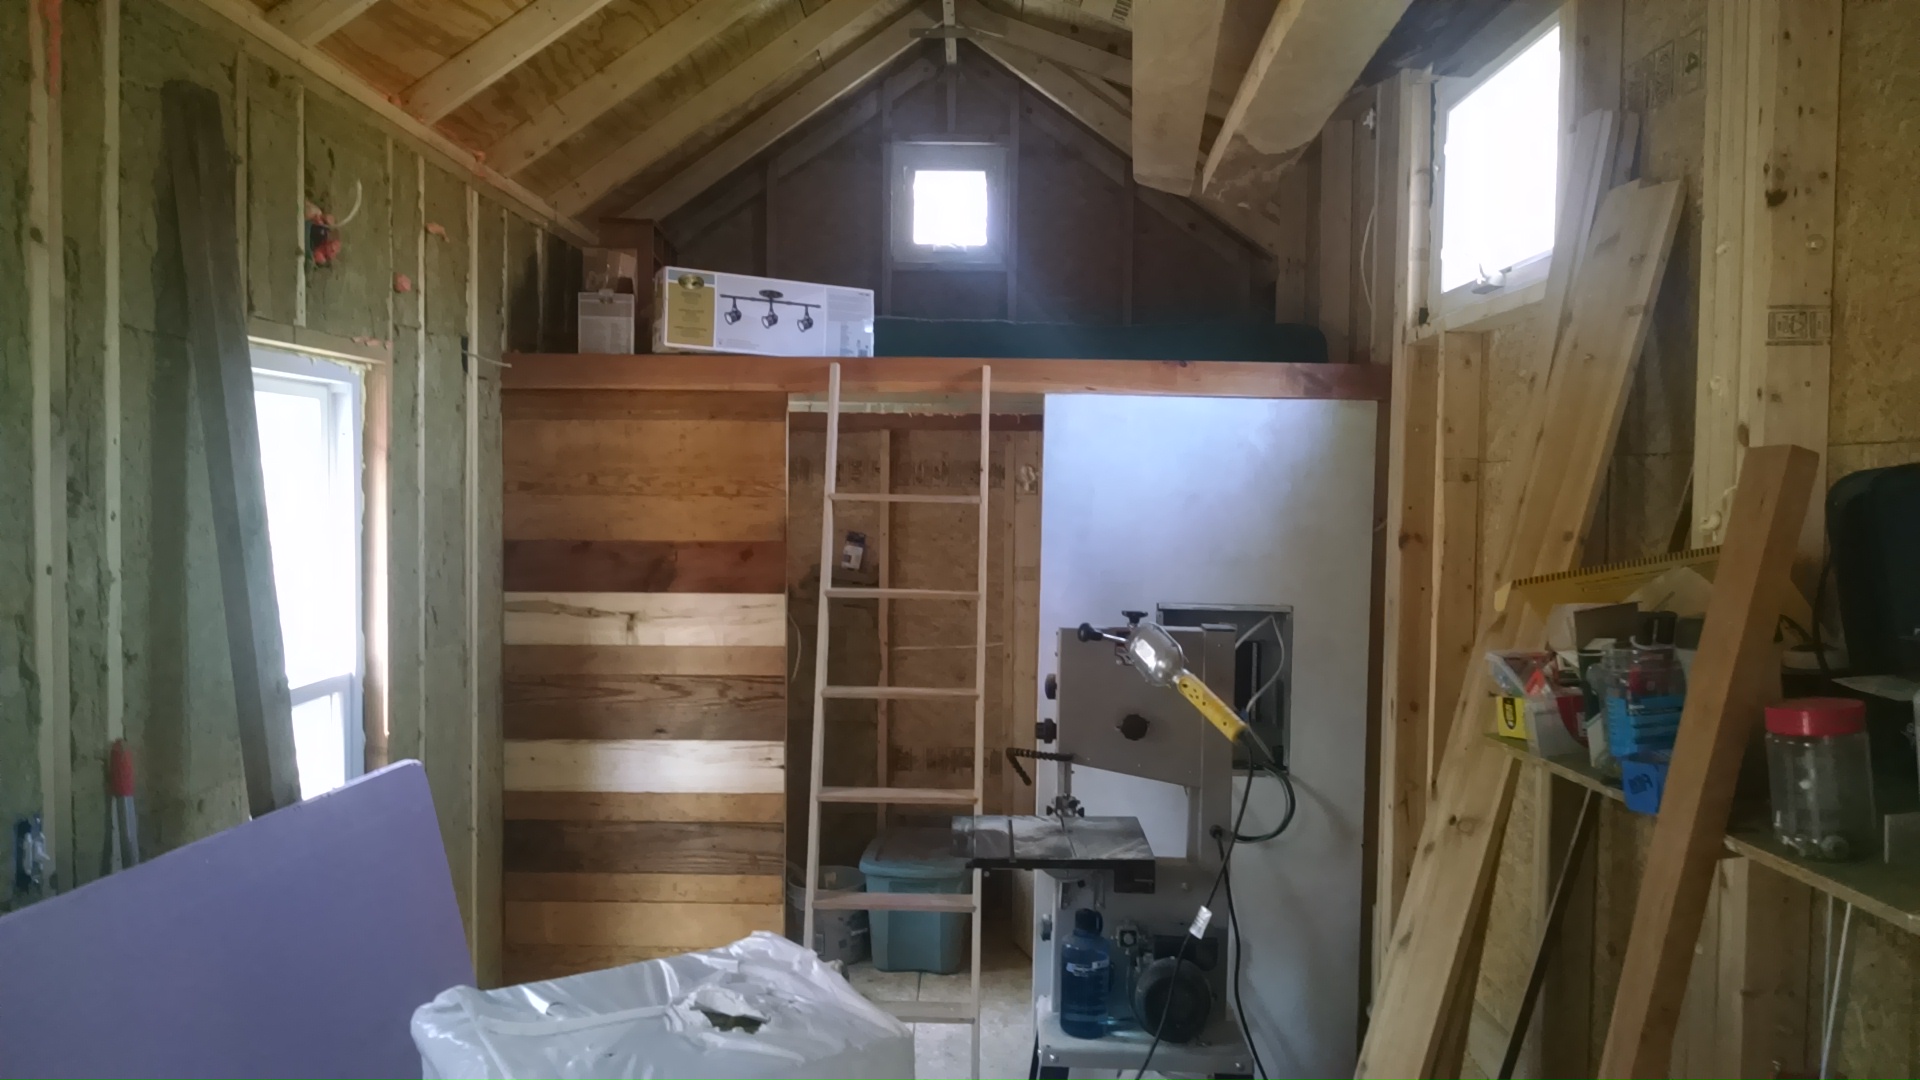 the bathroom loft, mostly finished; the ladder won't go there, that's "just for now"
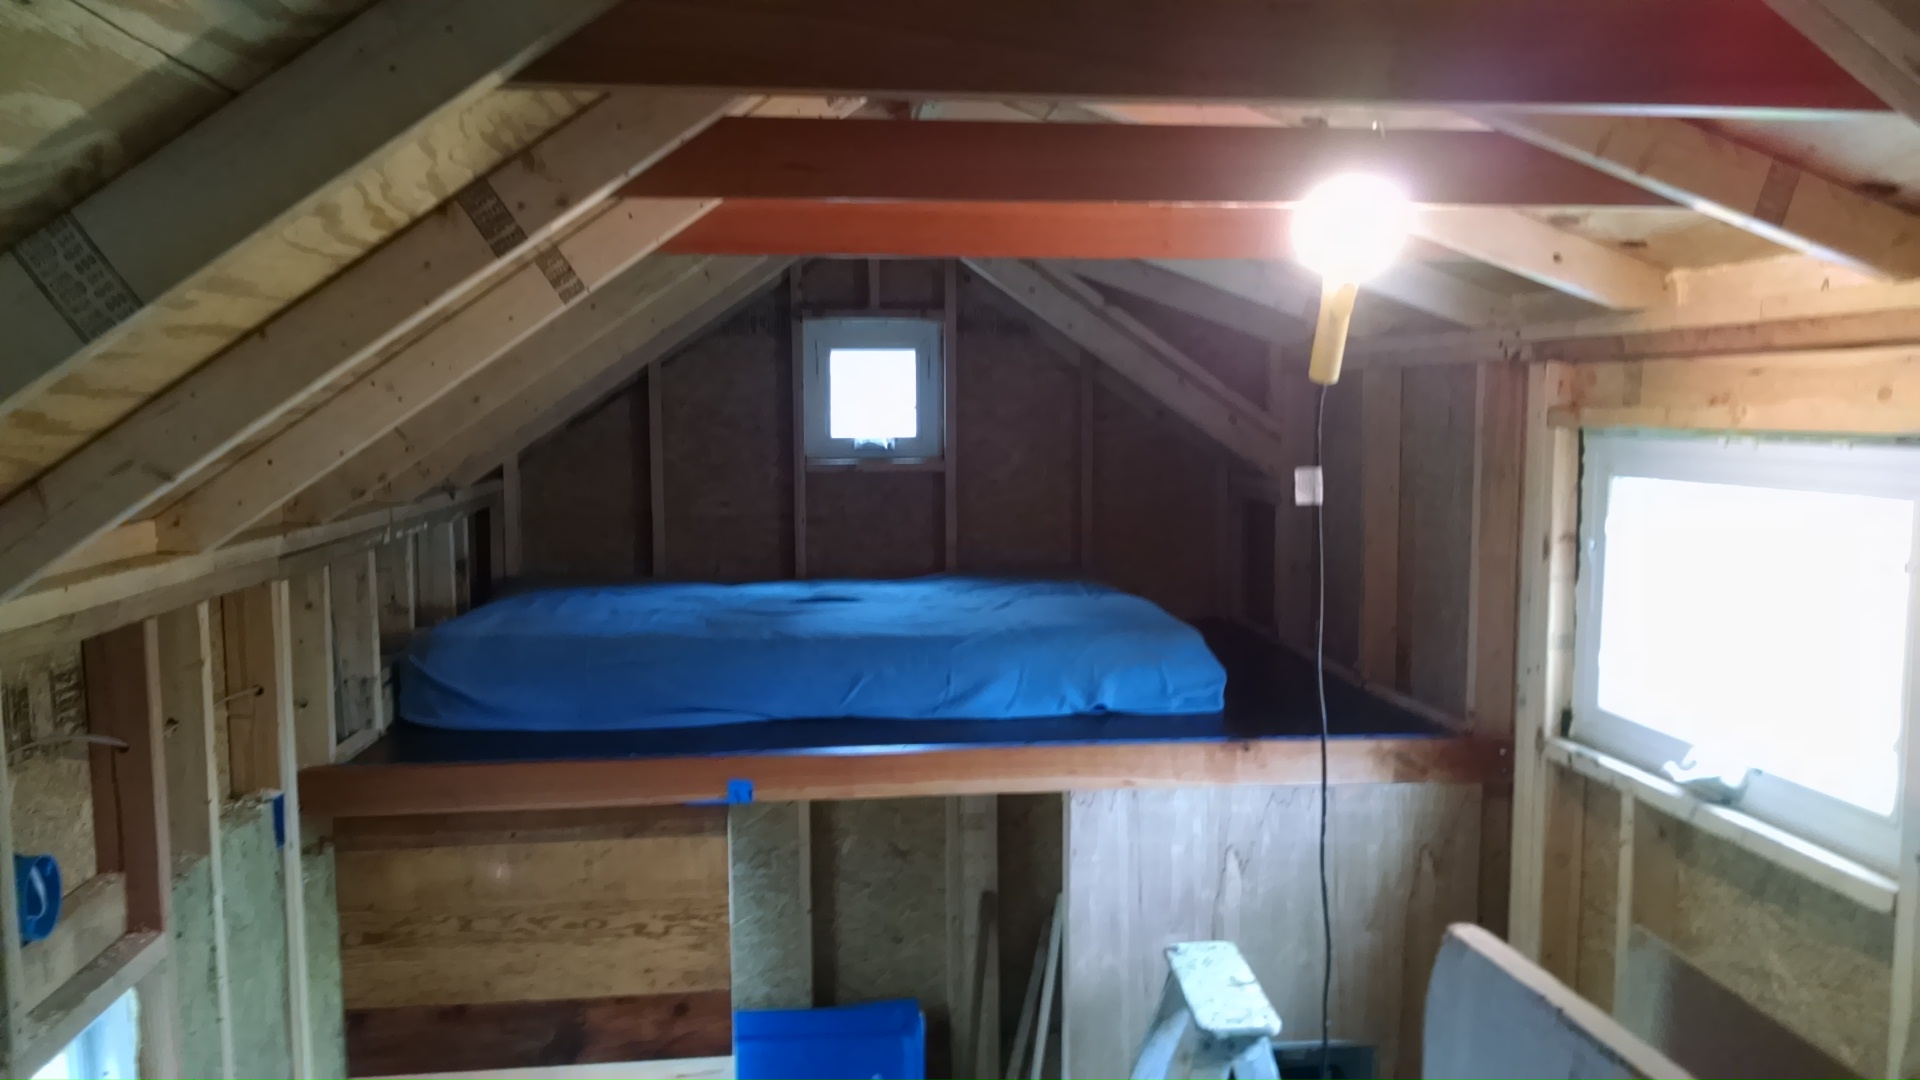 a mattress in my loft! not the most practical idea, because I still have a lot of construction to do and it will get dirty, but that's what the old sheet is for
This loft isn't completely finished, unfortunately. I still have to put up the bathroom ceiling (bottom of the loft), and add the railing and stuff. But it's mostly done and I'm pretty happy about that.
