My first loft is finished!
Yes! My first loft is done.
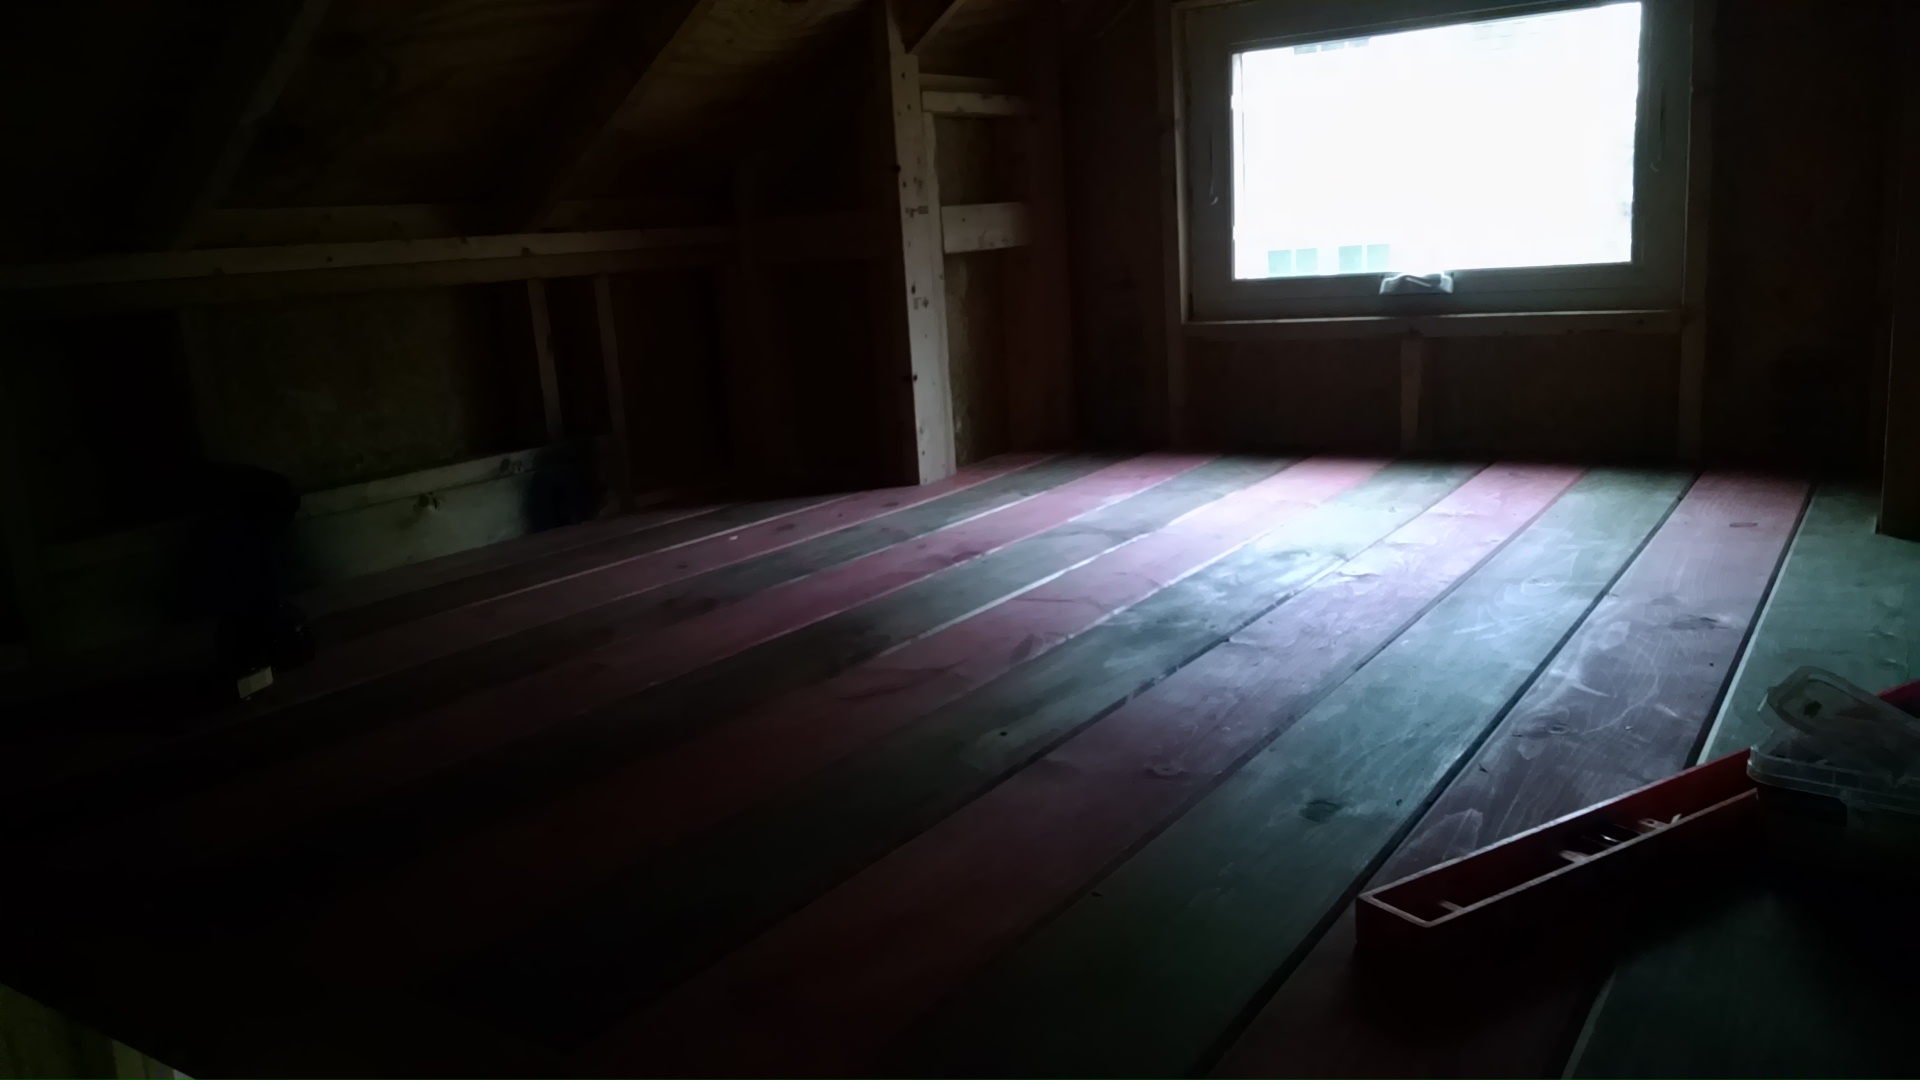 the loft above the kitchen, finished --but not literally finished, because the polyurethane isn't on it yet
Note the sophisticated pattern --it's called "stripes"-- I achieved it by staining half the boards one color, and the rest a different color!
 these boards were stained with an old "dark walnut" stain I had
 and these were stained with a mix of "sedona red" and "pickled oak"; I kind of just wanted to use up some old stain
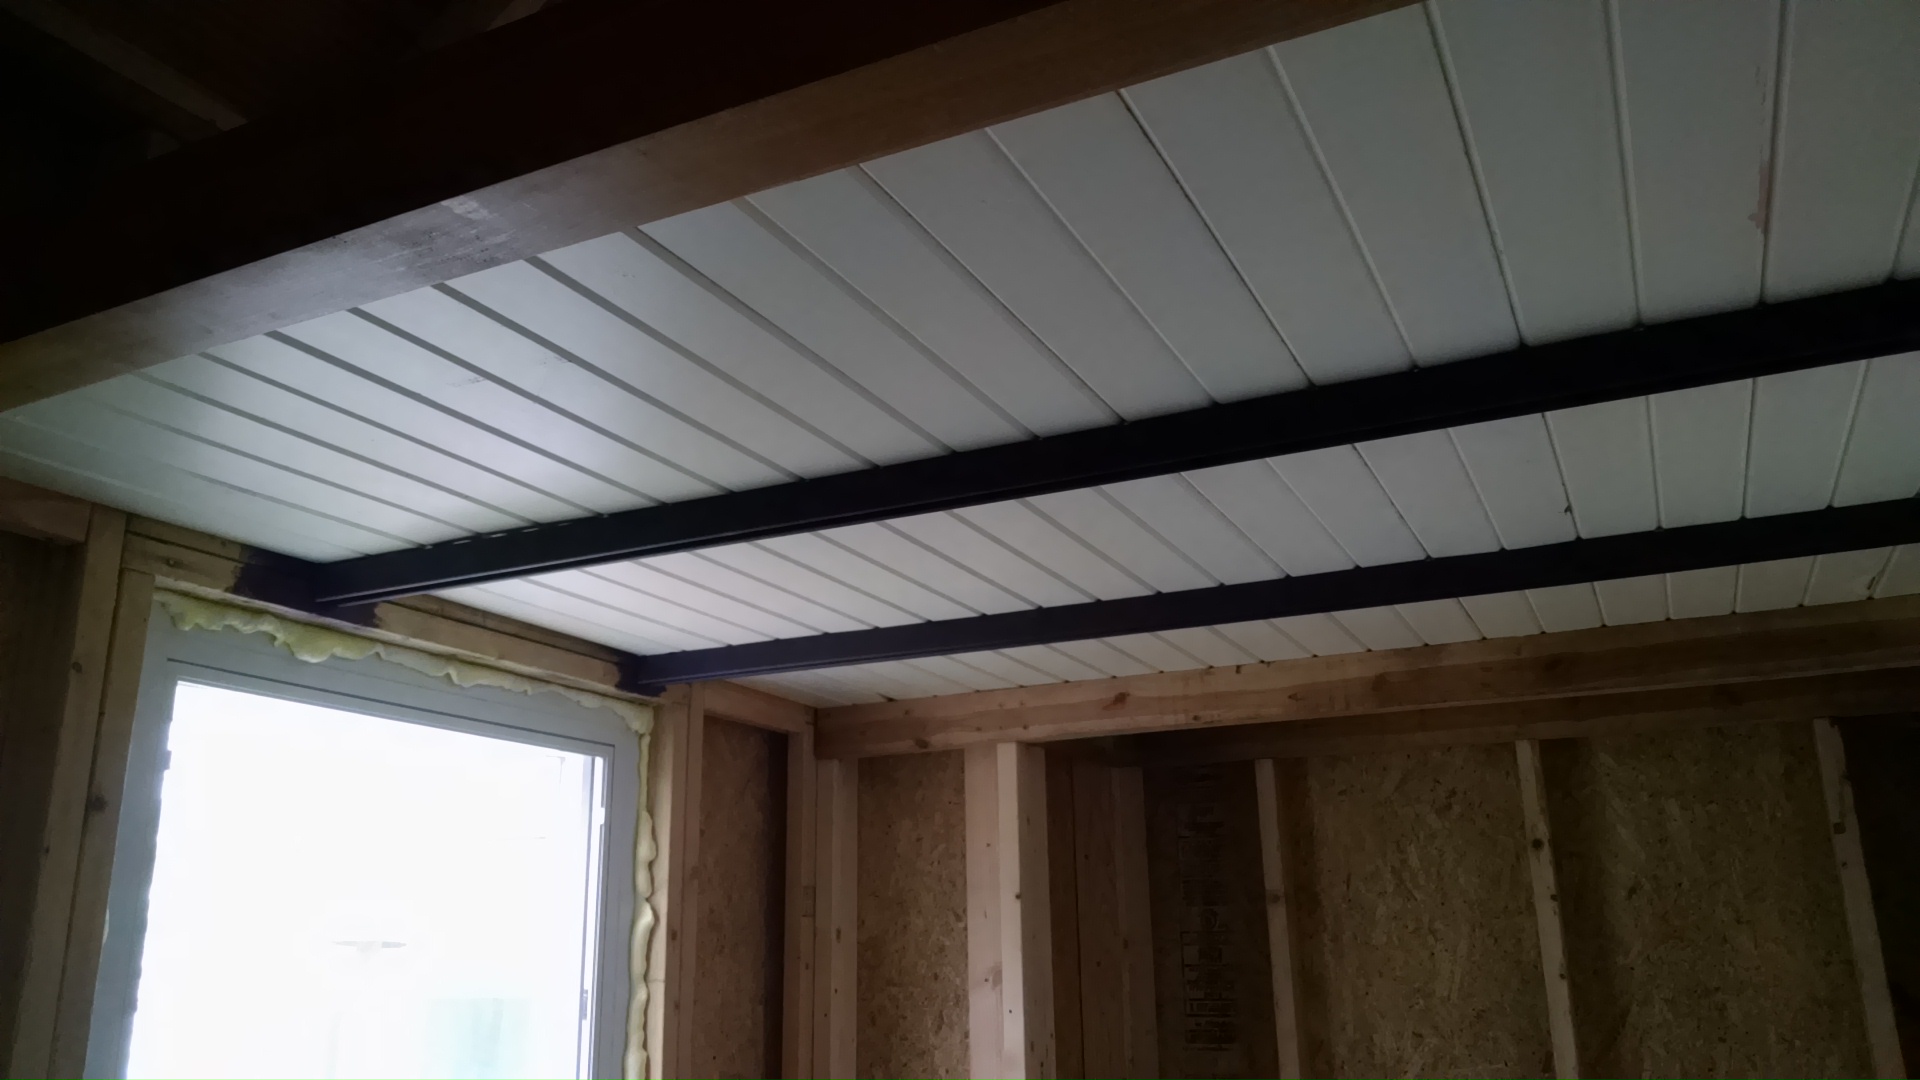
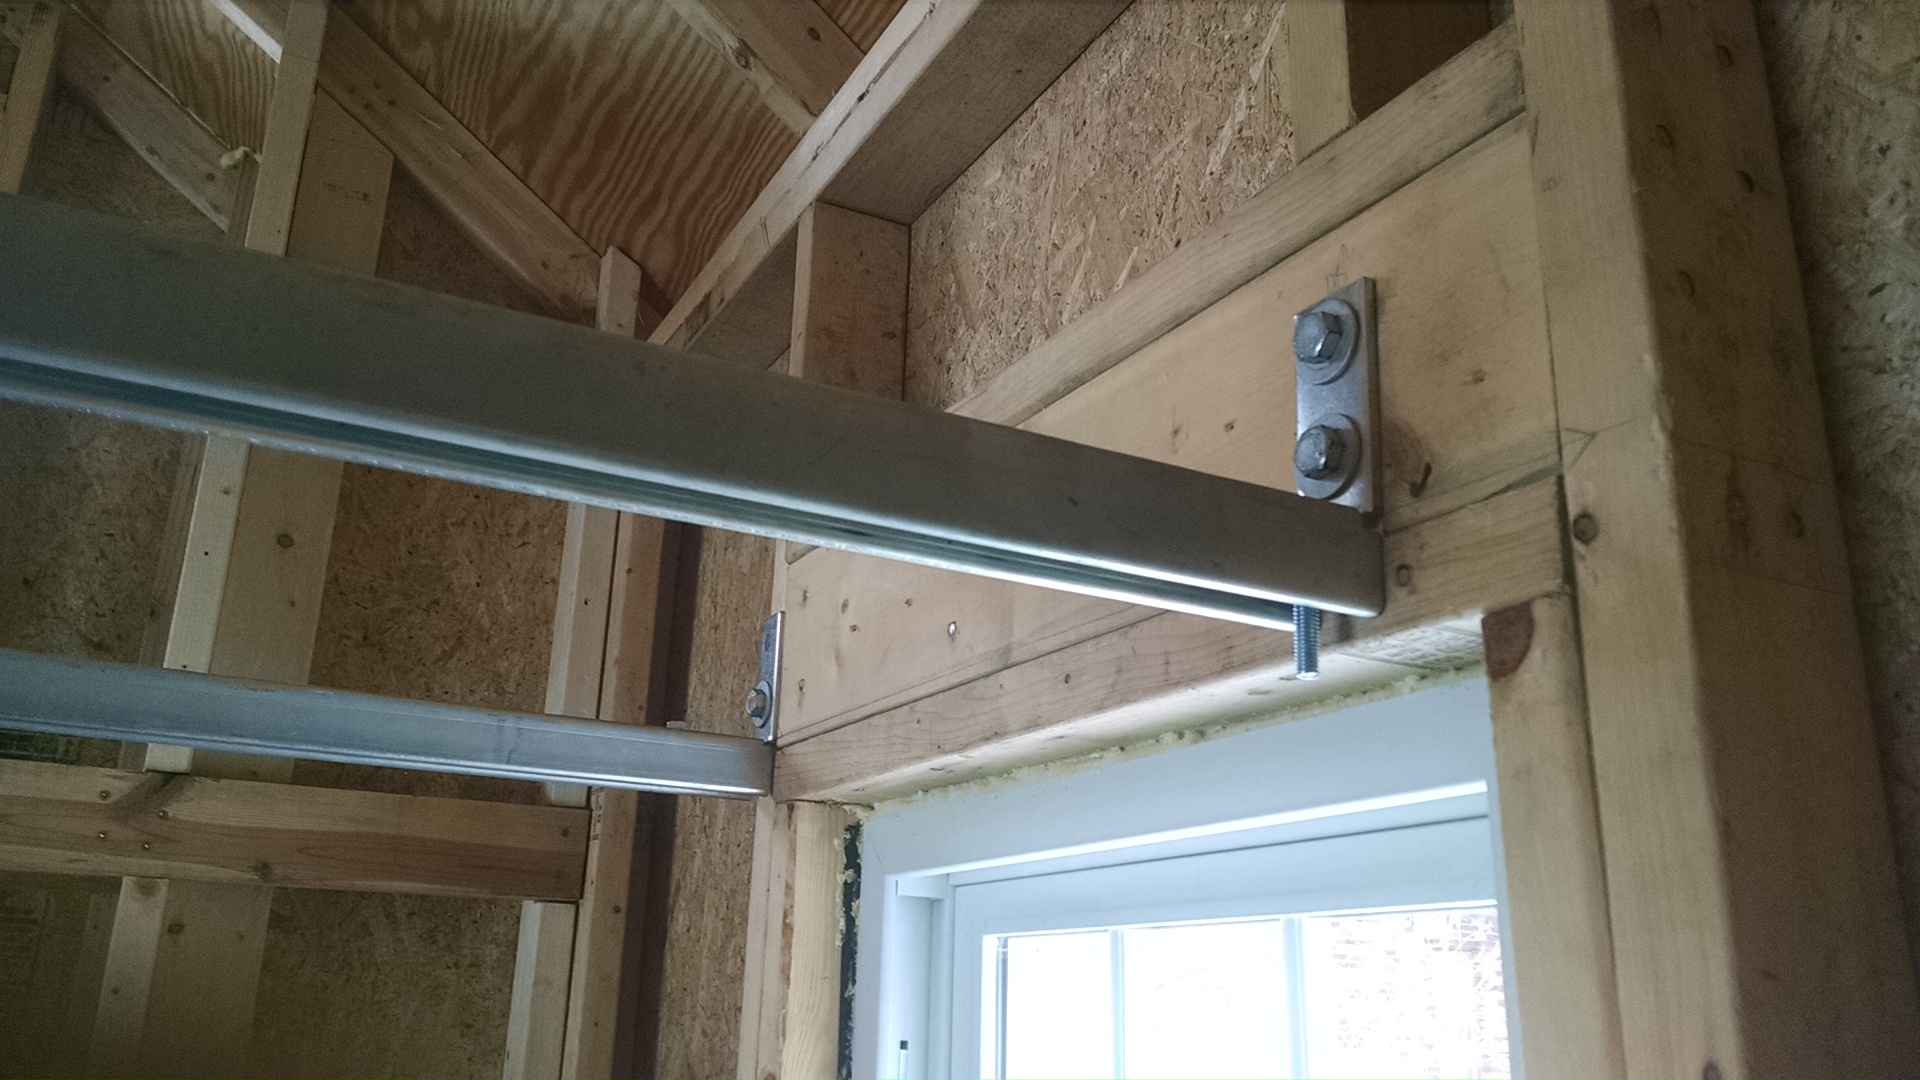 c-channel used as joists; and lag bolted to a reinforced window header
 when I framed my tiny house, I inset a ledger at the gable walls to add strength and give support for the future lofts
 this window is above the kitchen countertop, the steel joists are seen attached above the window, and at the front of the loft is a cherry beam
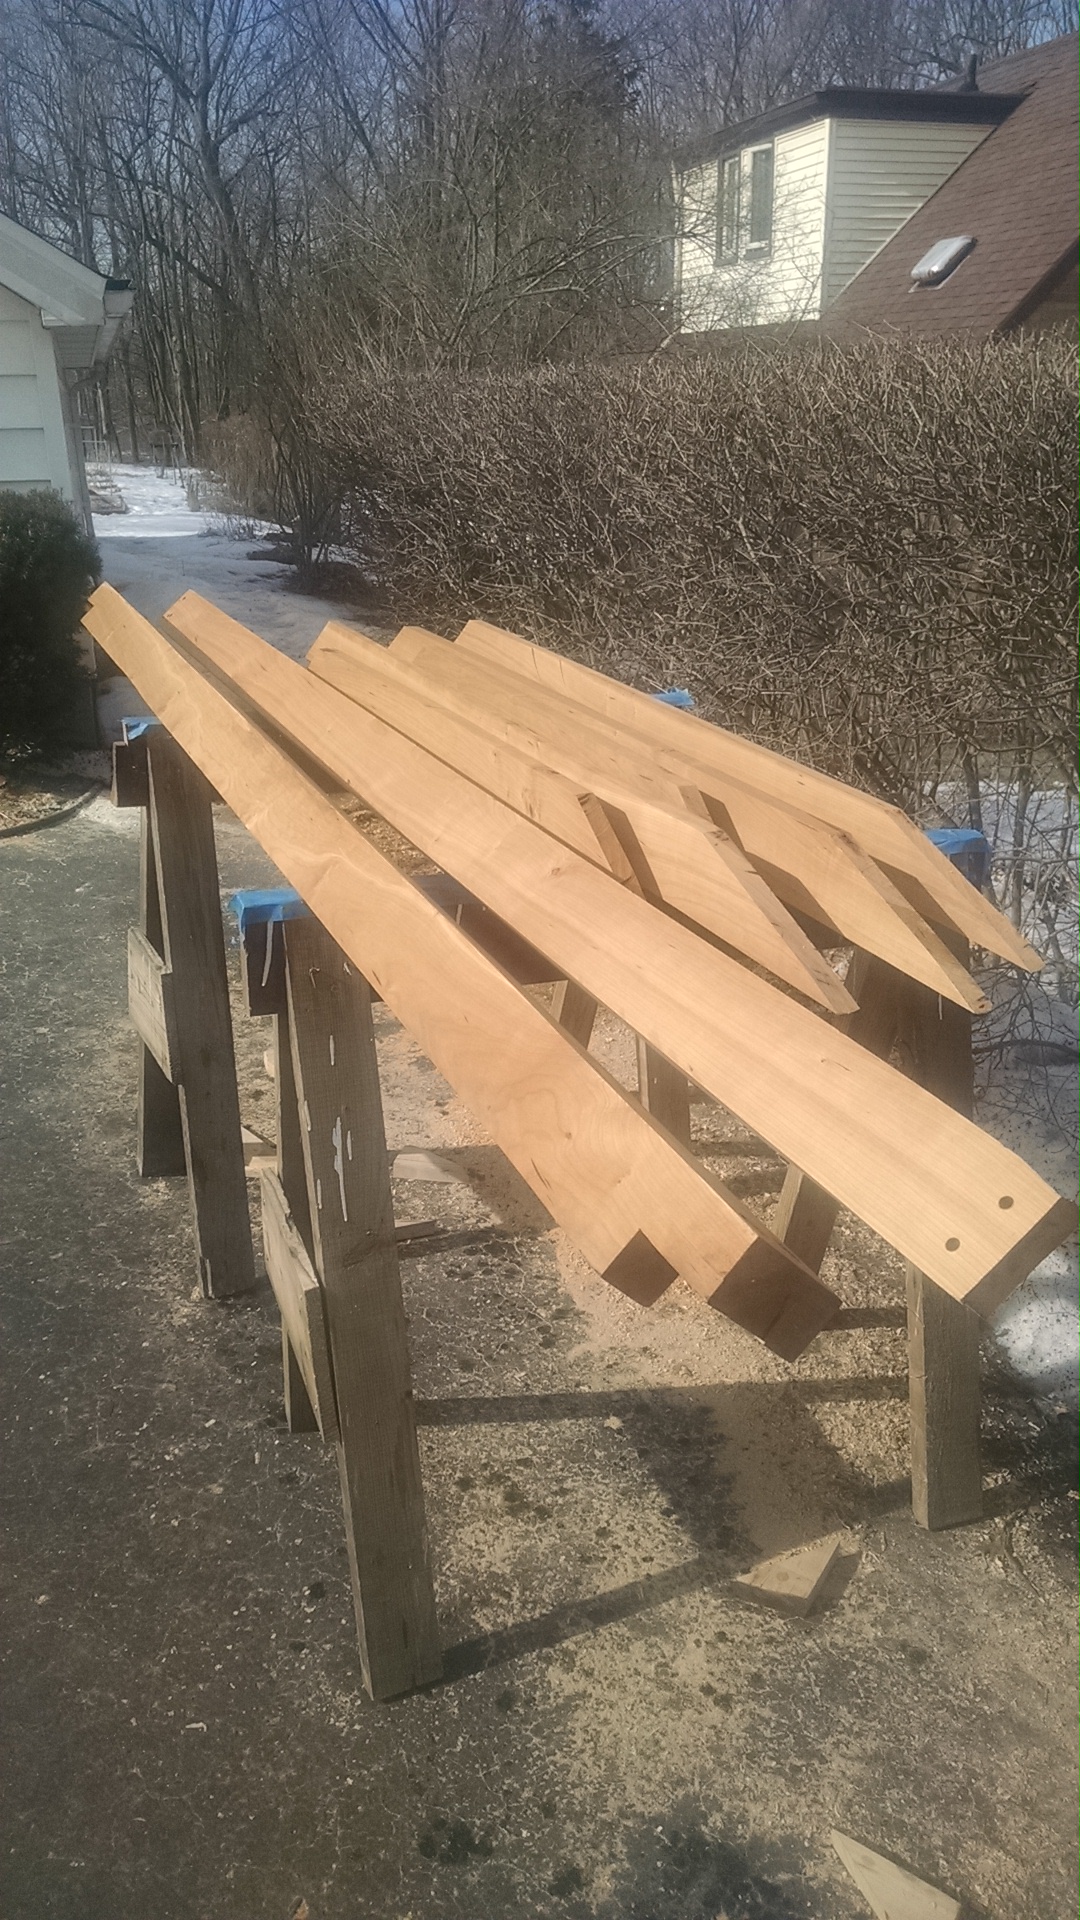 here are the loft beams and collar ties drying after a danish oil application
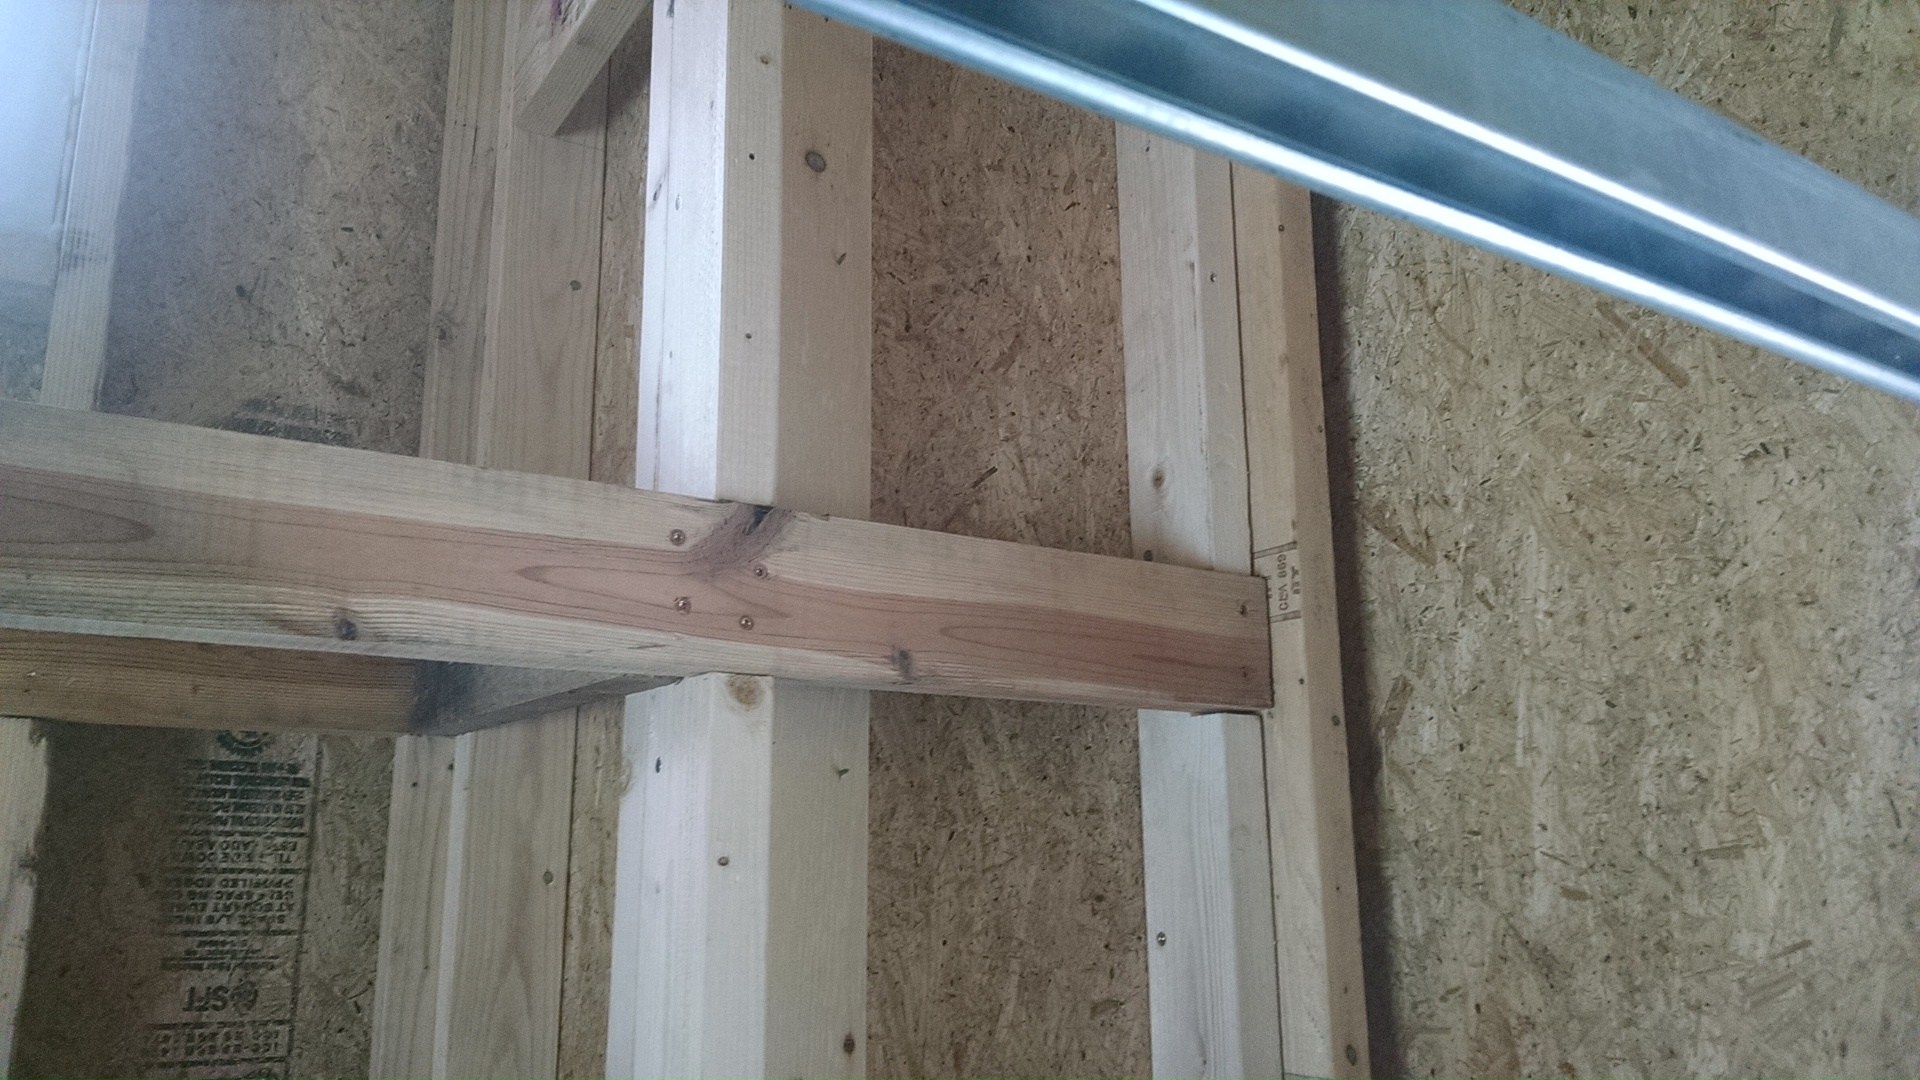
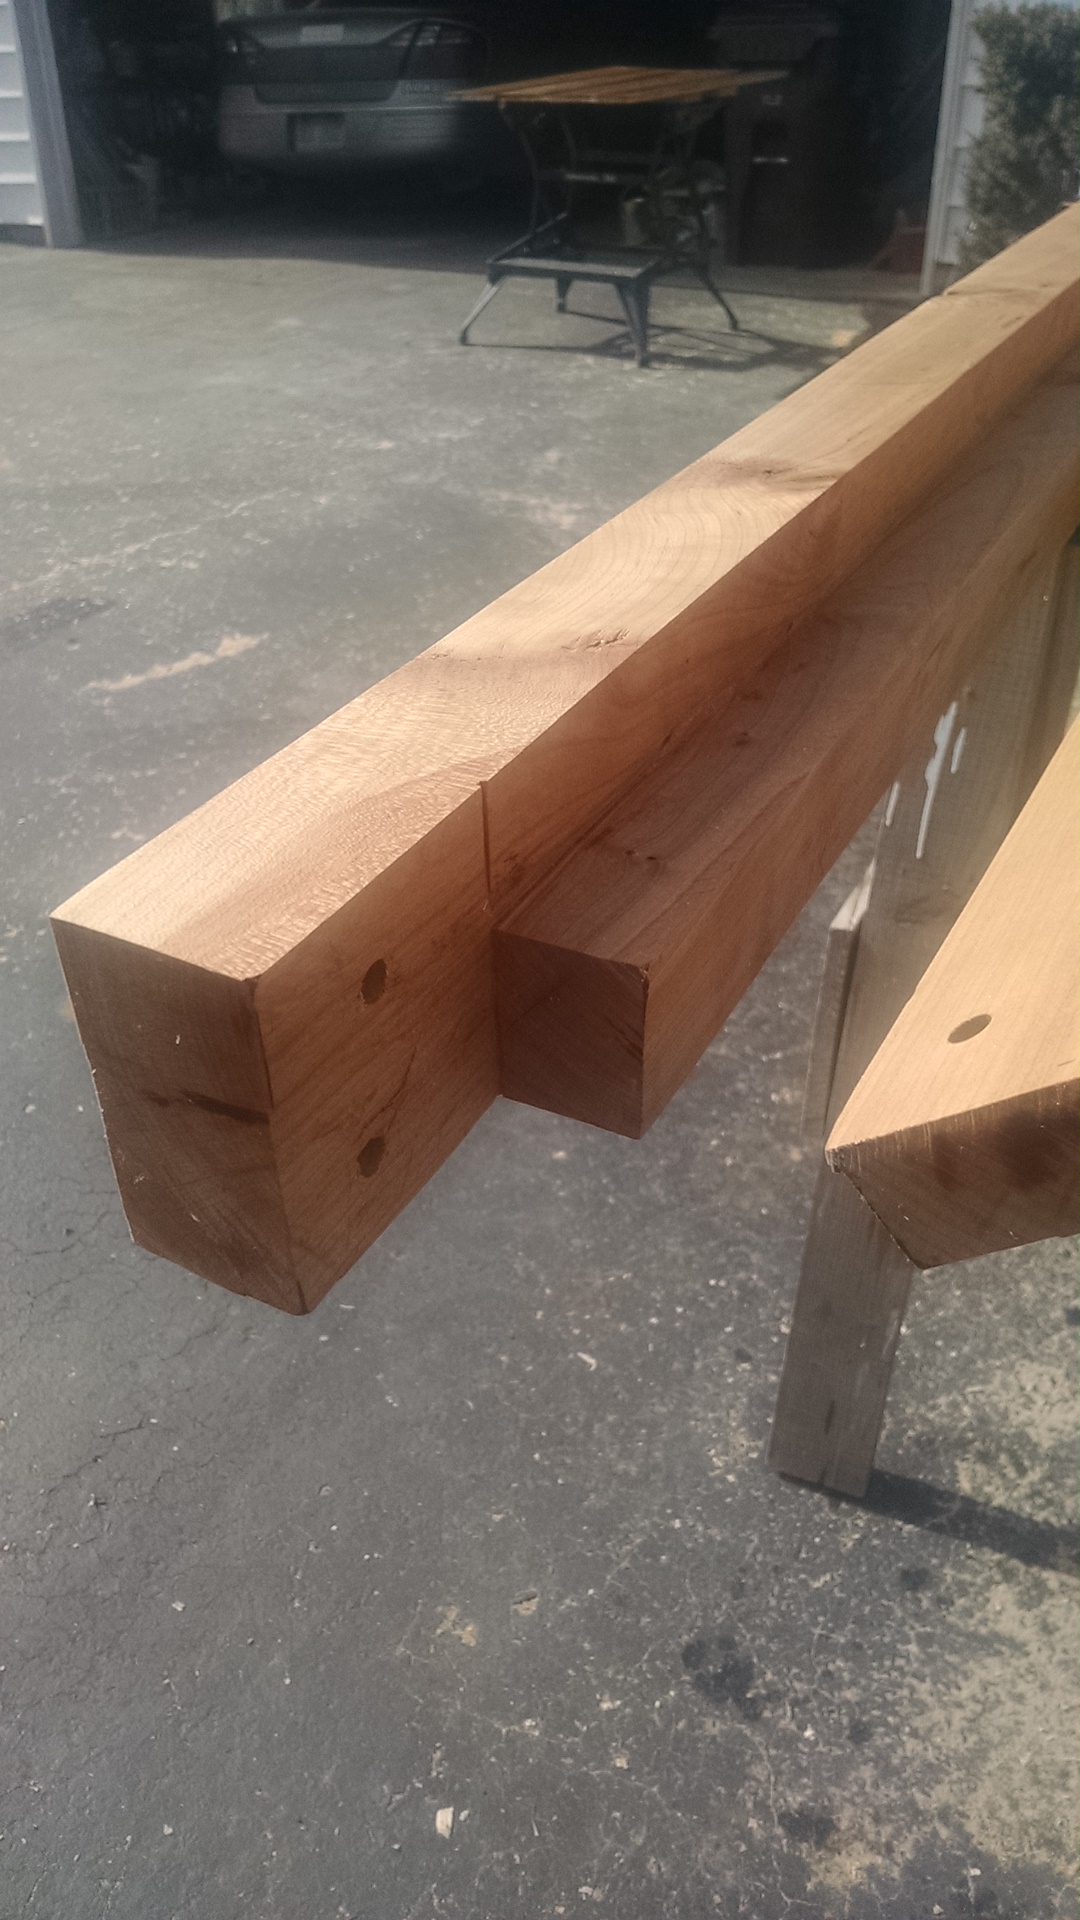 the loft beams were cut to provide a ledge for the floor planks and to ease attachment (bolting) to the studs
 I painted the bottoms of the loft boards a light yellow; here they are leaning against the beams for the bathroom loft to dry
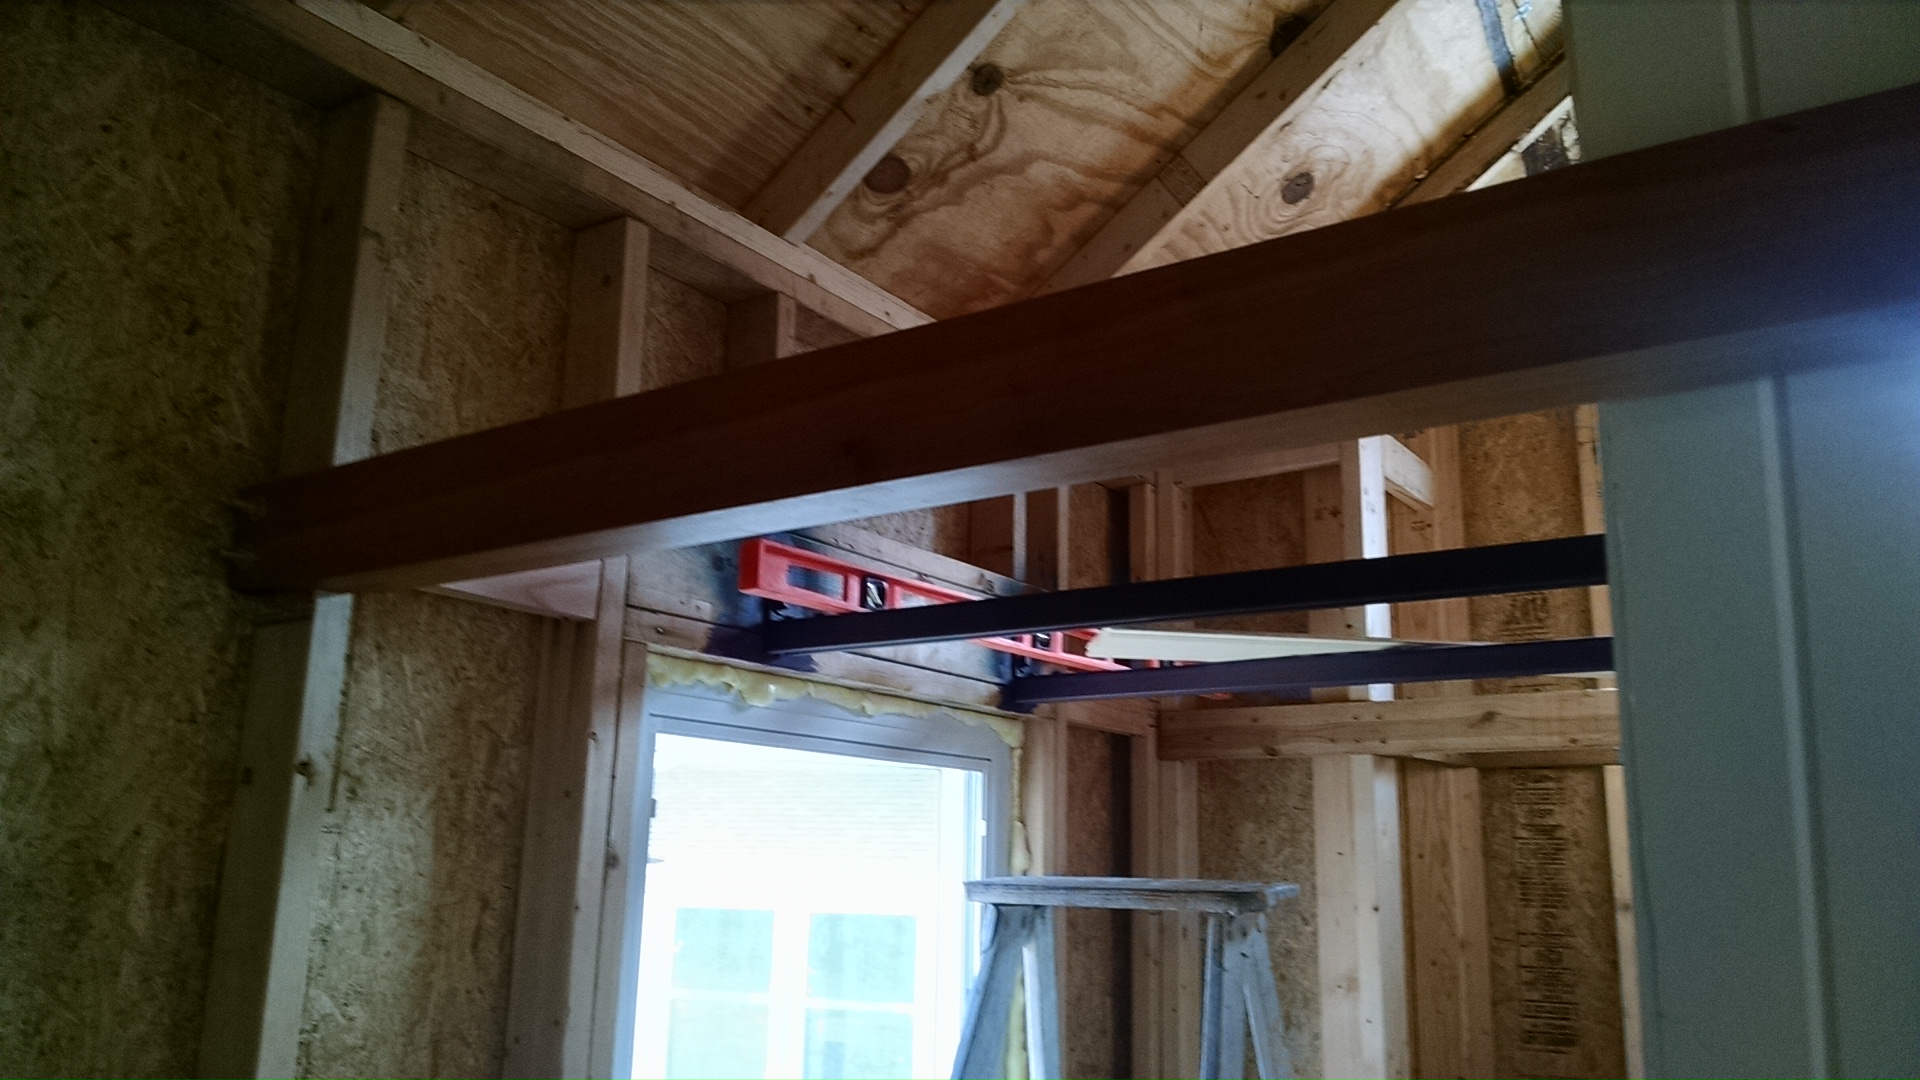
 the underside of the first loft, or kitchen ceiling; the steel joists were painted purple before attaching the floor boards
Overall I'm pretty happy with how my front loft turned out. It was a little squeaky at first. The tongue-and-groove "carsiding" is sturdy enough, but not really meant for this application, and when I moved around on the loft the boards would move slightly relative to its neighbor and make noise. After I put on three coats of polyurethane, the poly seeped into the joints between boards and quieted it down quite a bit.
Now that it's done, I'm not sure I would do anything differently if I had to build this loft again. It achieves the look I wanted and is structurally sound. I might have put glue into the tongue-and-groove connection. That might have made it quieter, but I thought of that before hand and wasn't sure it was worth the extra work.
I will hopefully finish the second loft soon.