My subfloor
I decided early on that I wanted to have my subfloor right on top of the steel frame of the trailer, to leave as much headroom as possible for the lofts. I had pretty much no plan on how to do this when I ordered my trailer, but once I had it, the only feasible solution seemed to be to build wooden frames in between the steel "joists" of the trailer, and nail my subfloor to these frames. So that's what I did. (Some people have suggested that I could have used self tapping screws to attach the subfloor directly to the steel ribs of the trailer. These rails are pretty heavy duty. I haven't seen any self-tapping screws that I think could could do the job. And then I still would have had to attach a bottom under the trailer to hold my insulation in place. This seemed like the best approach.)
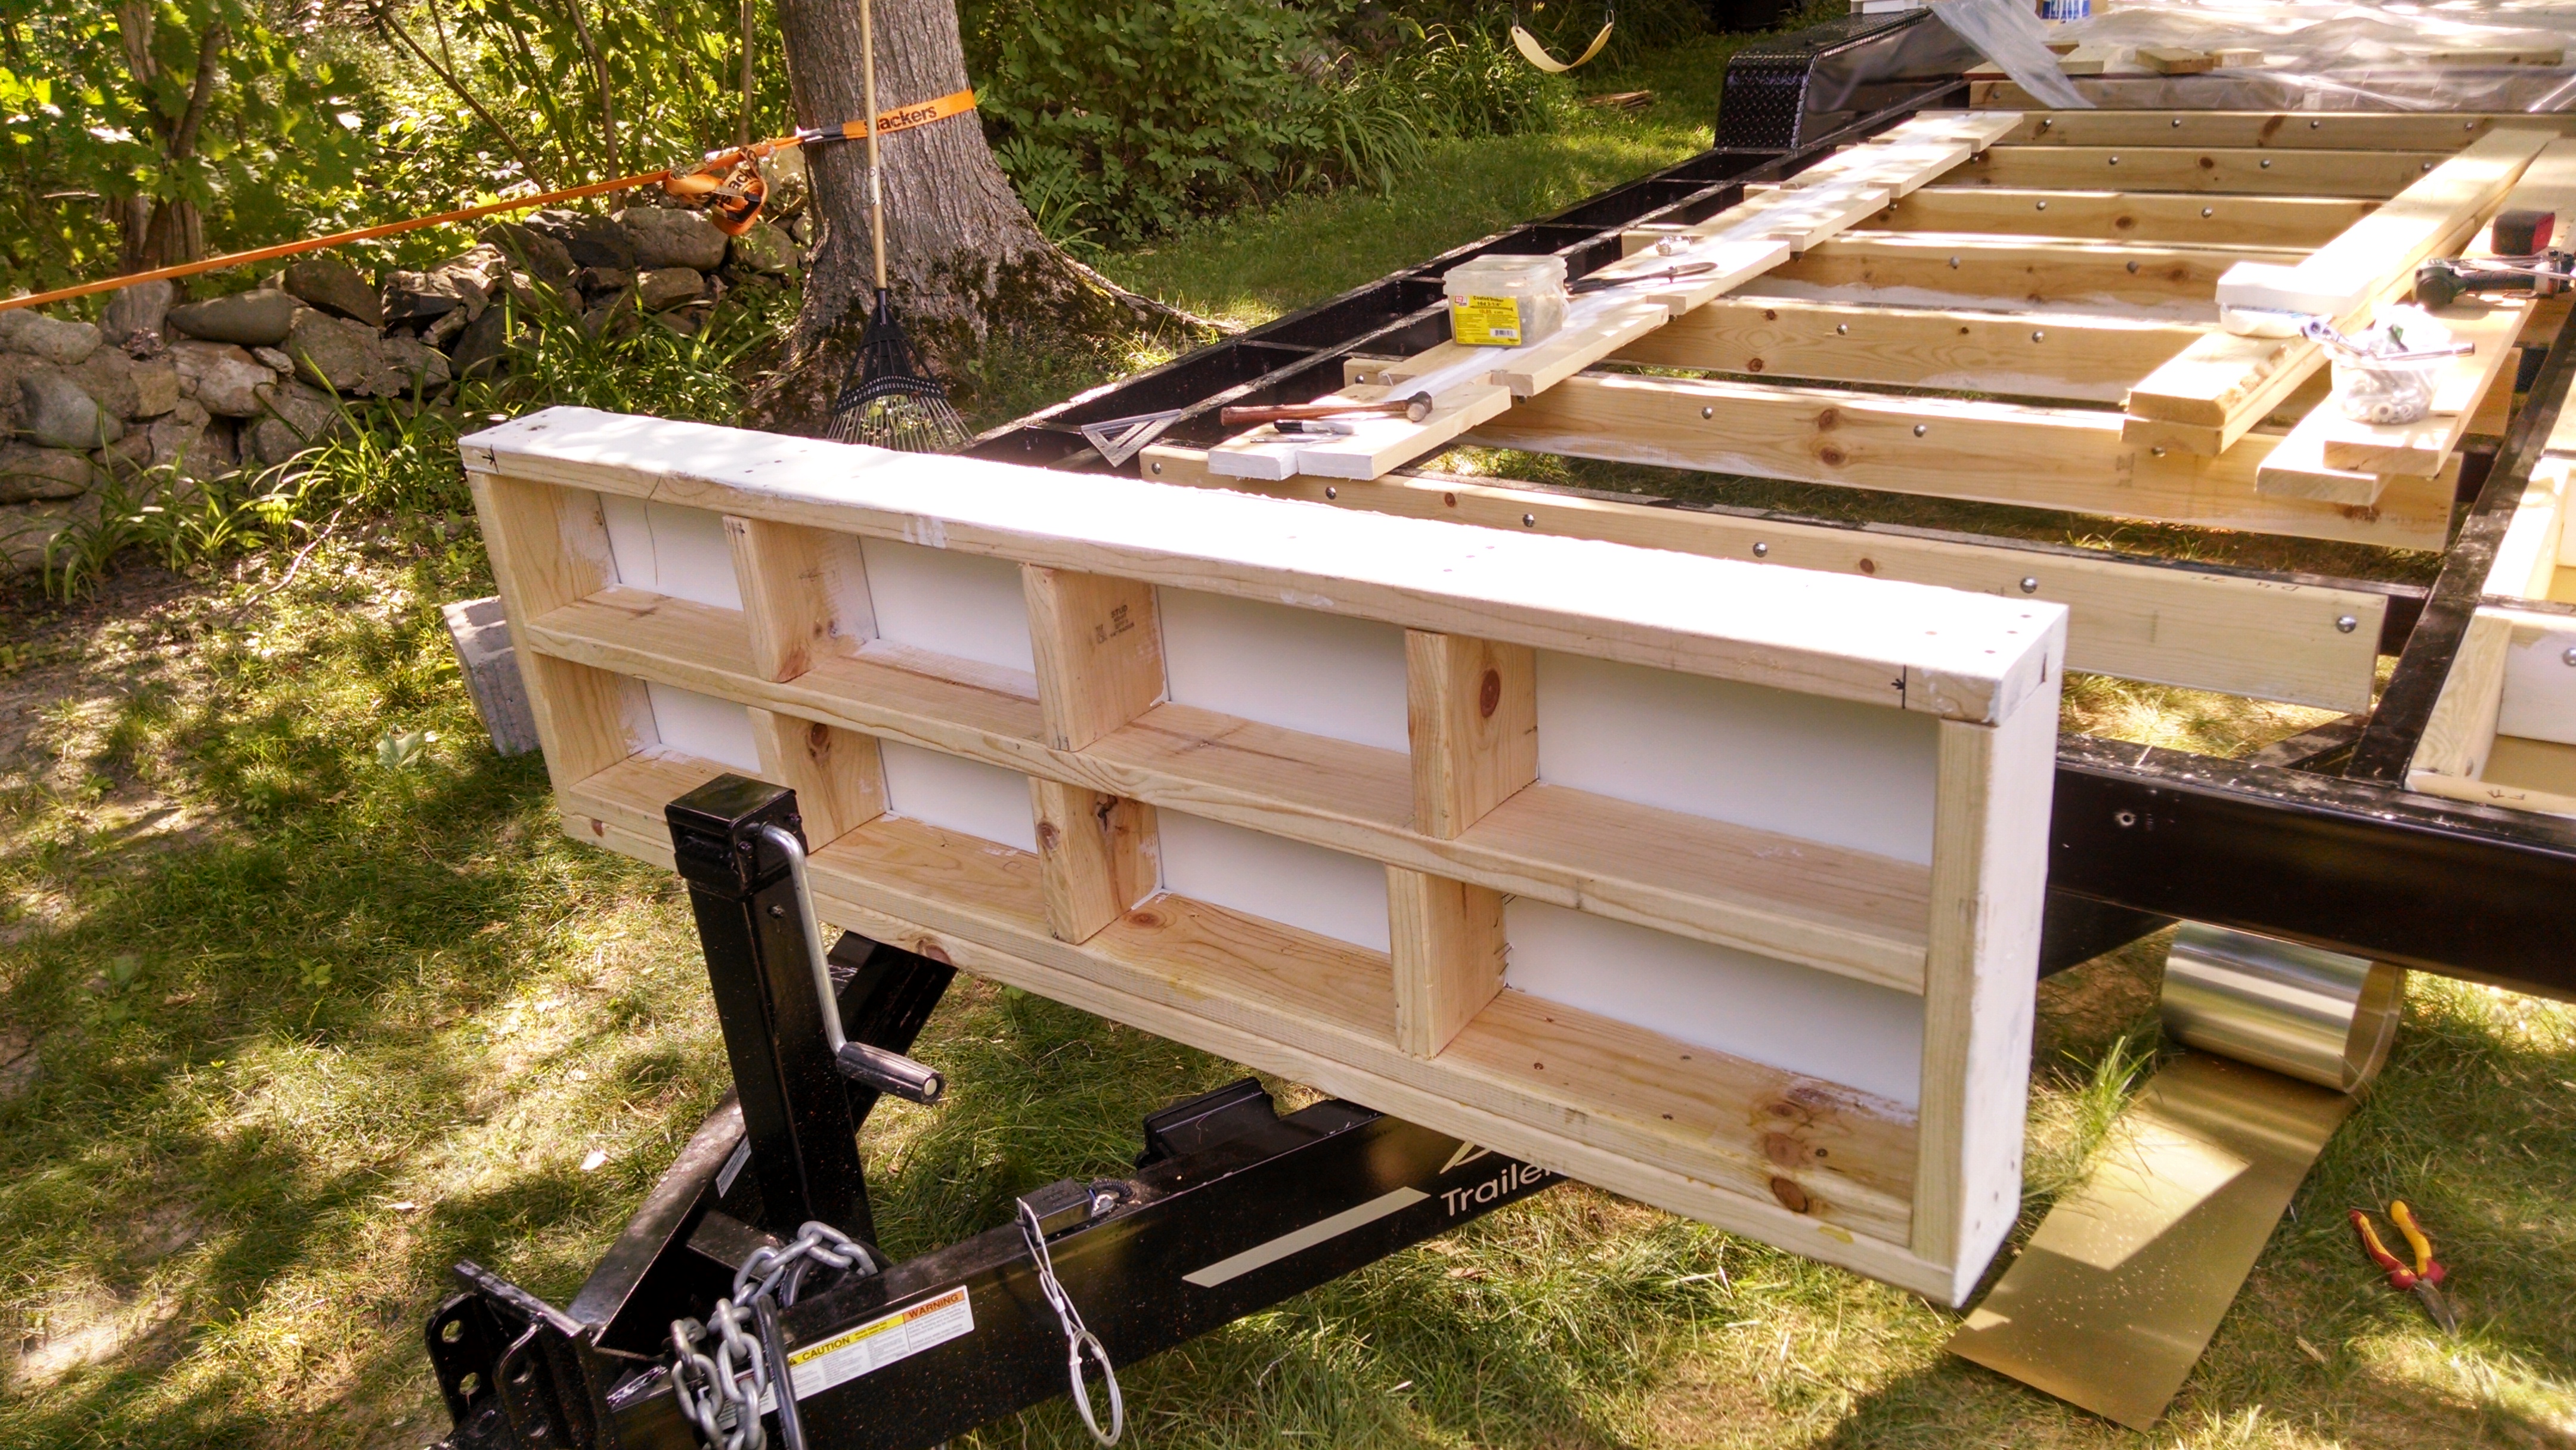
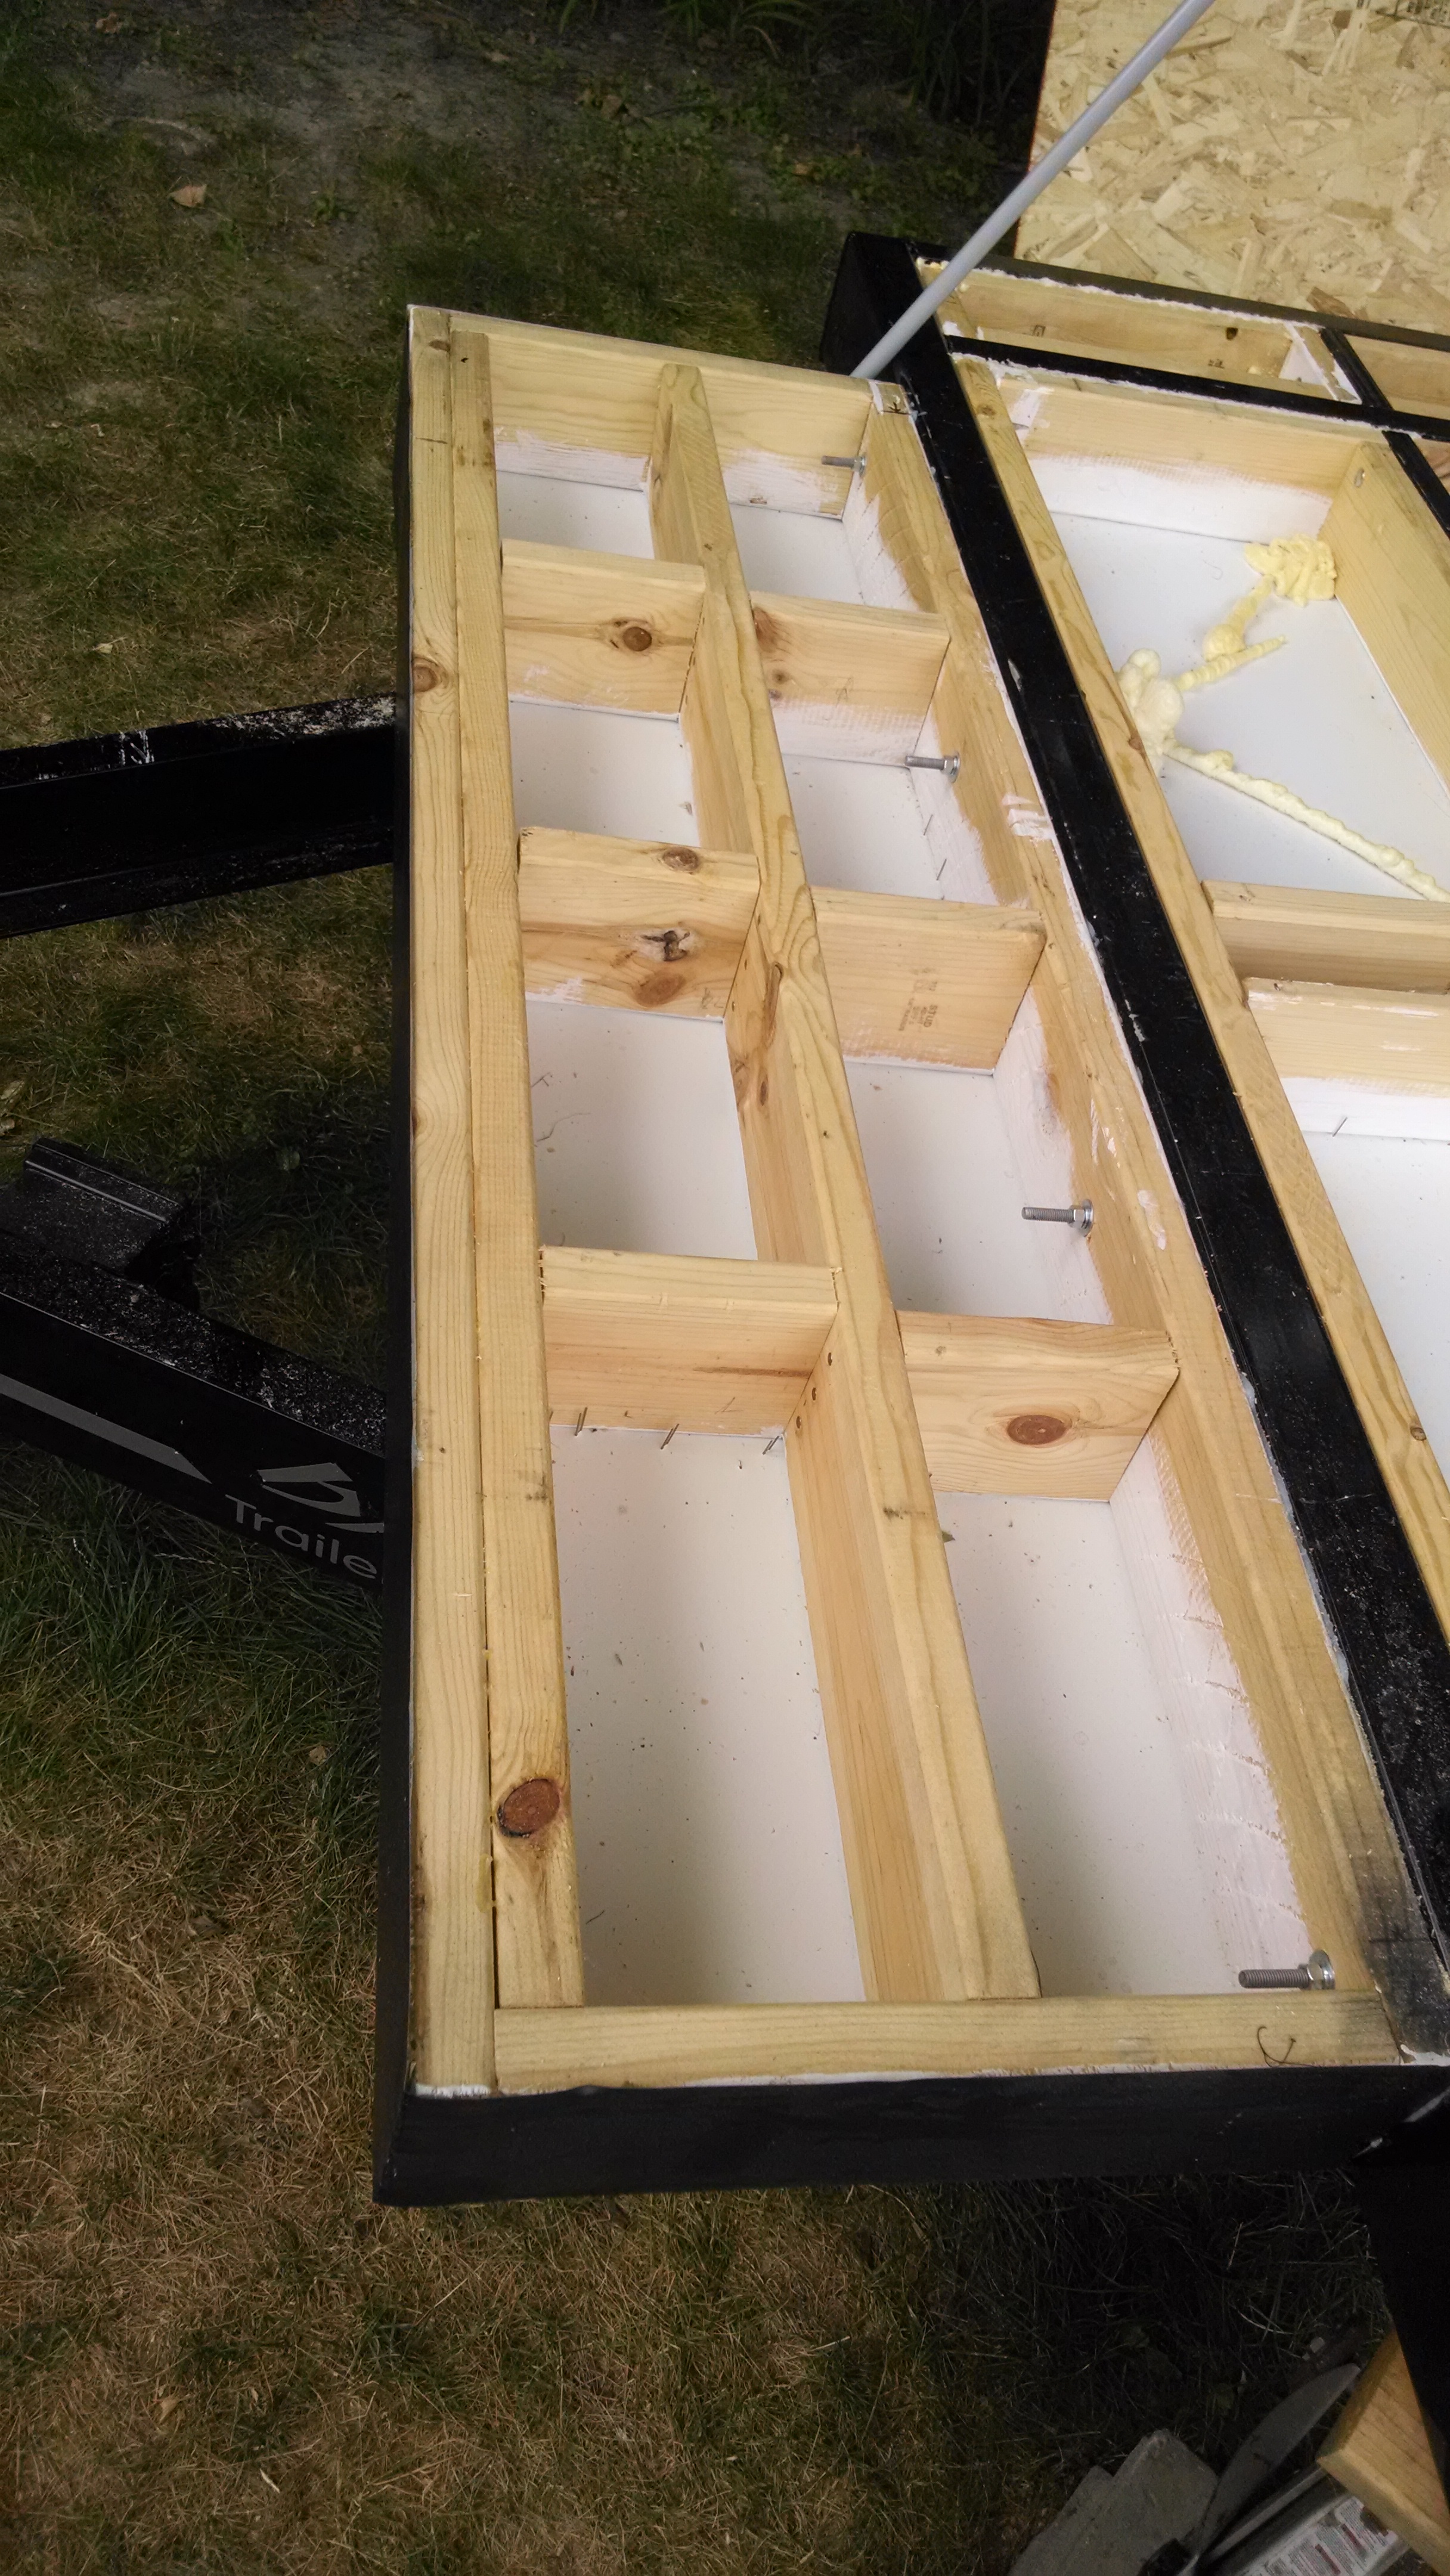
My first thought was to build "complete" frame sections that could be manuevered into place and bolted to the trailer.
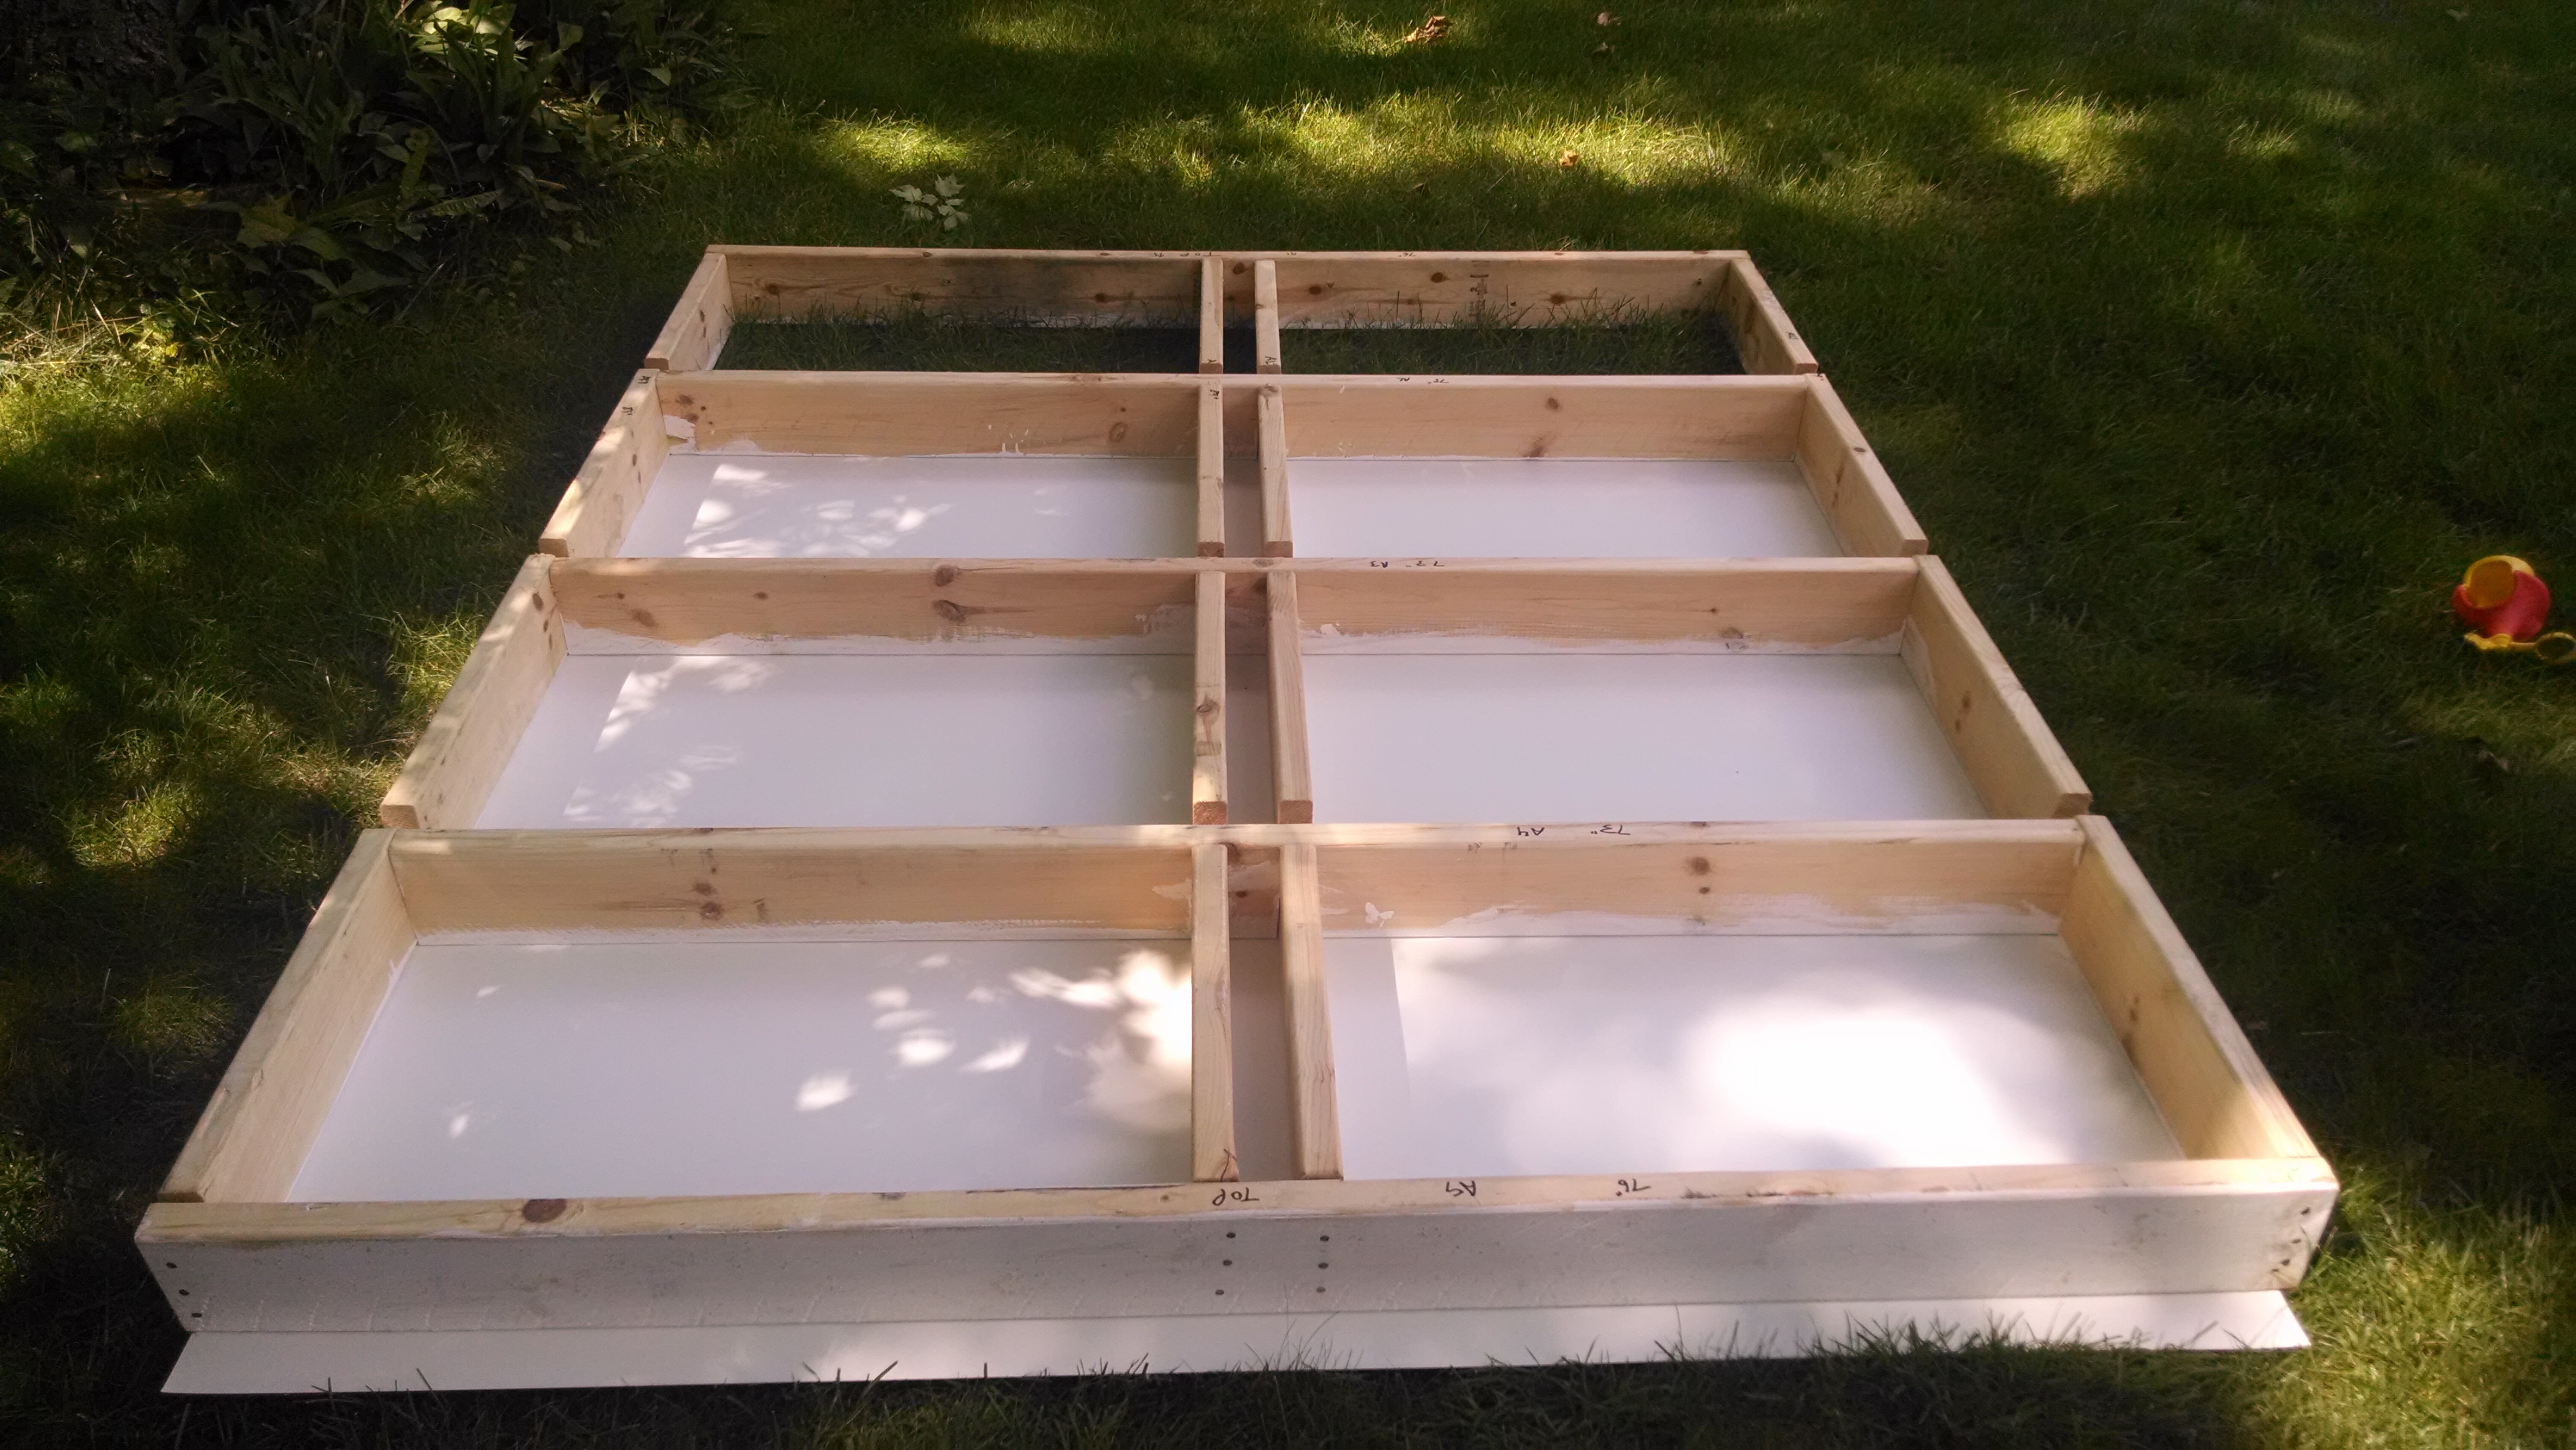 the wood frame I built for the rear of the trailer
 the bottom of the frame, showing the rolled aluminum flashing attached
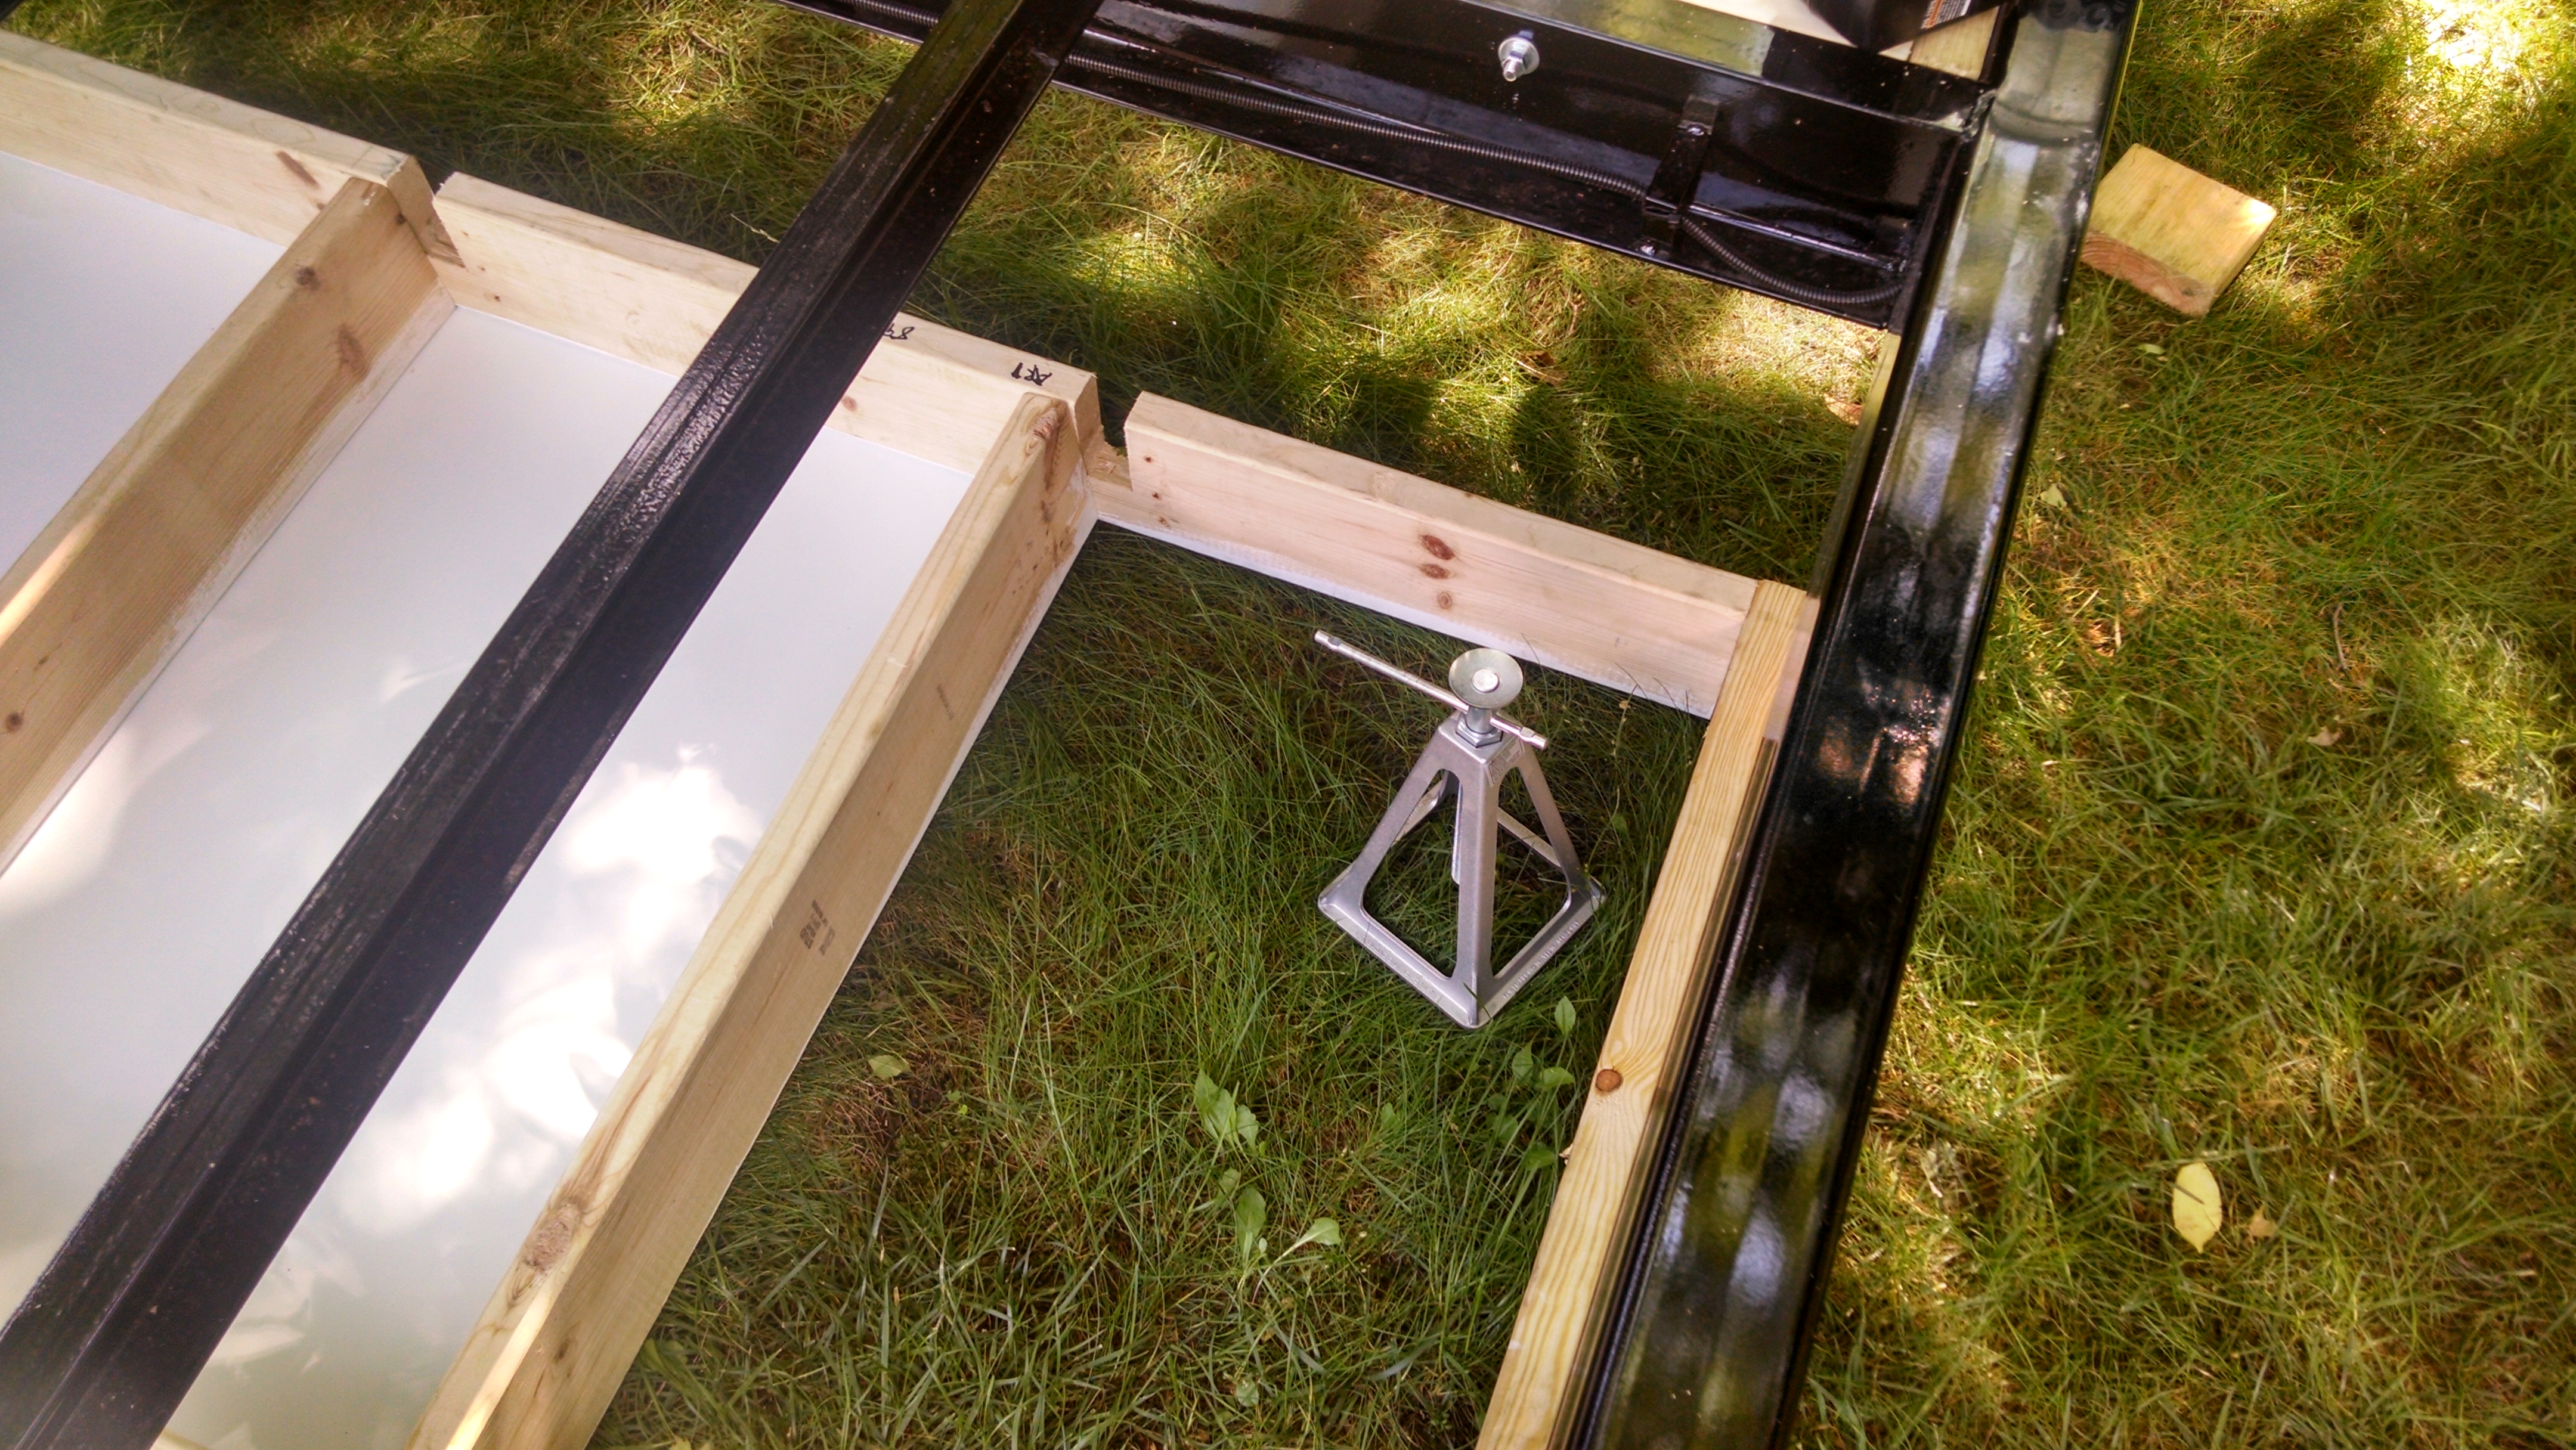 trying to lift the frame into position
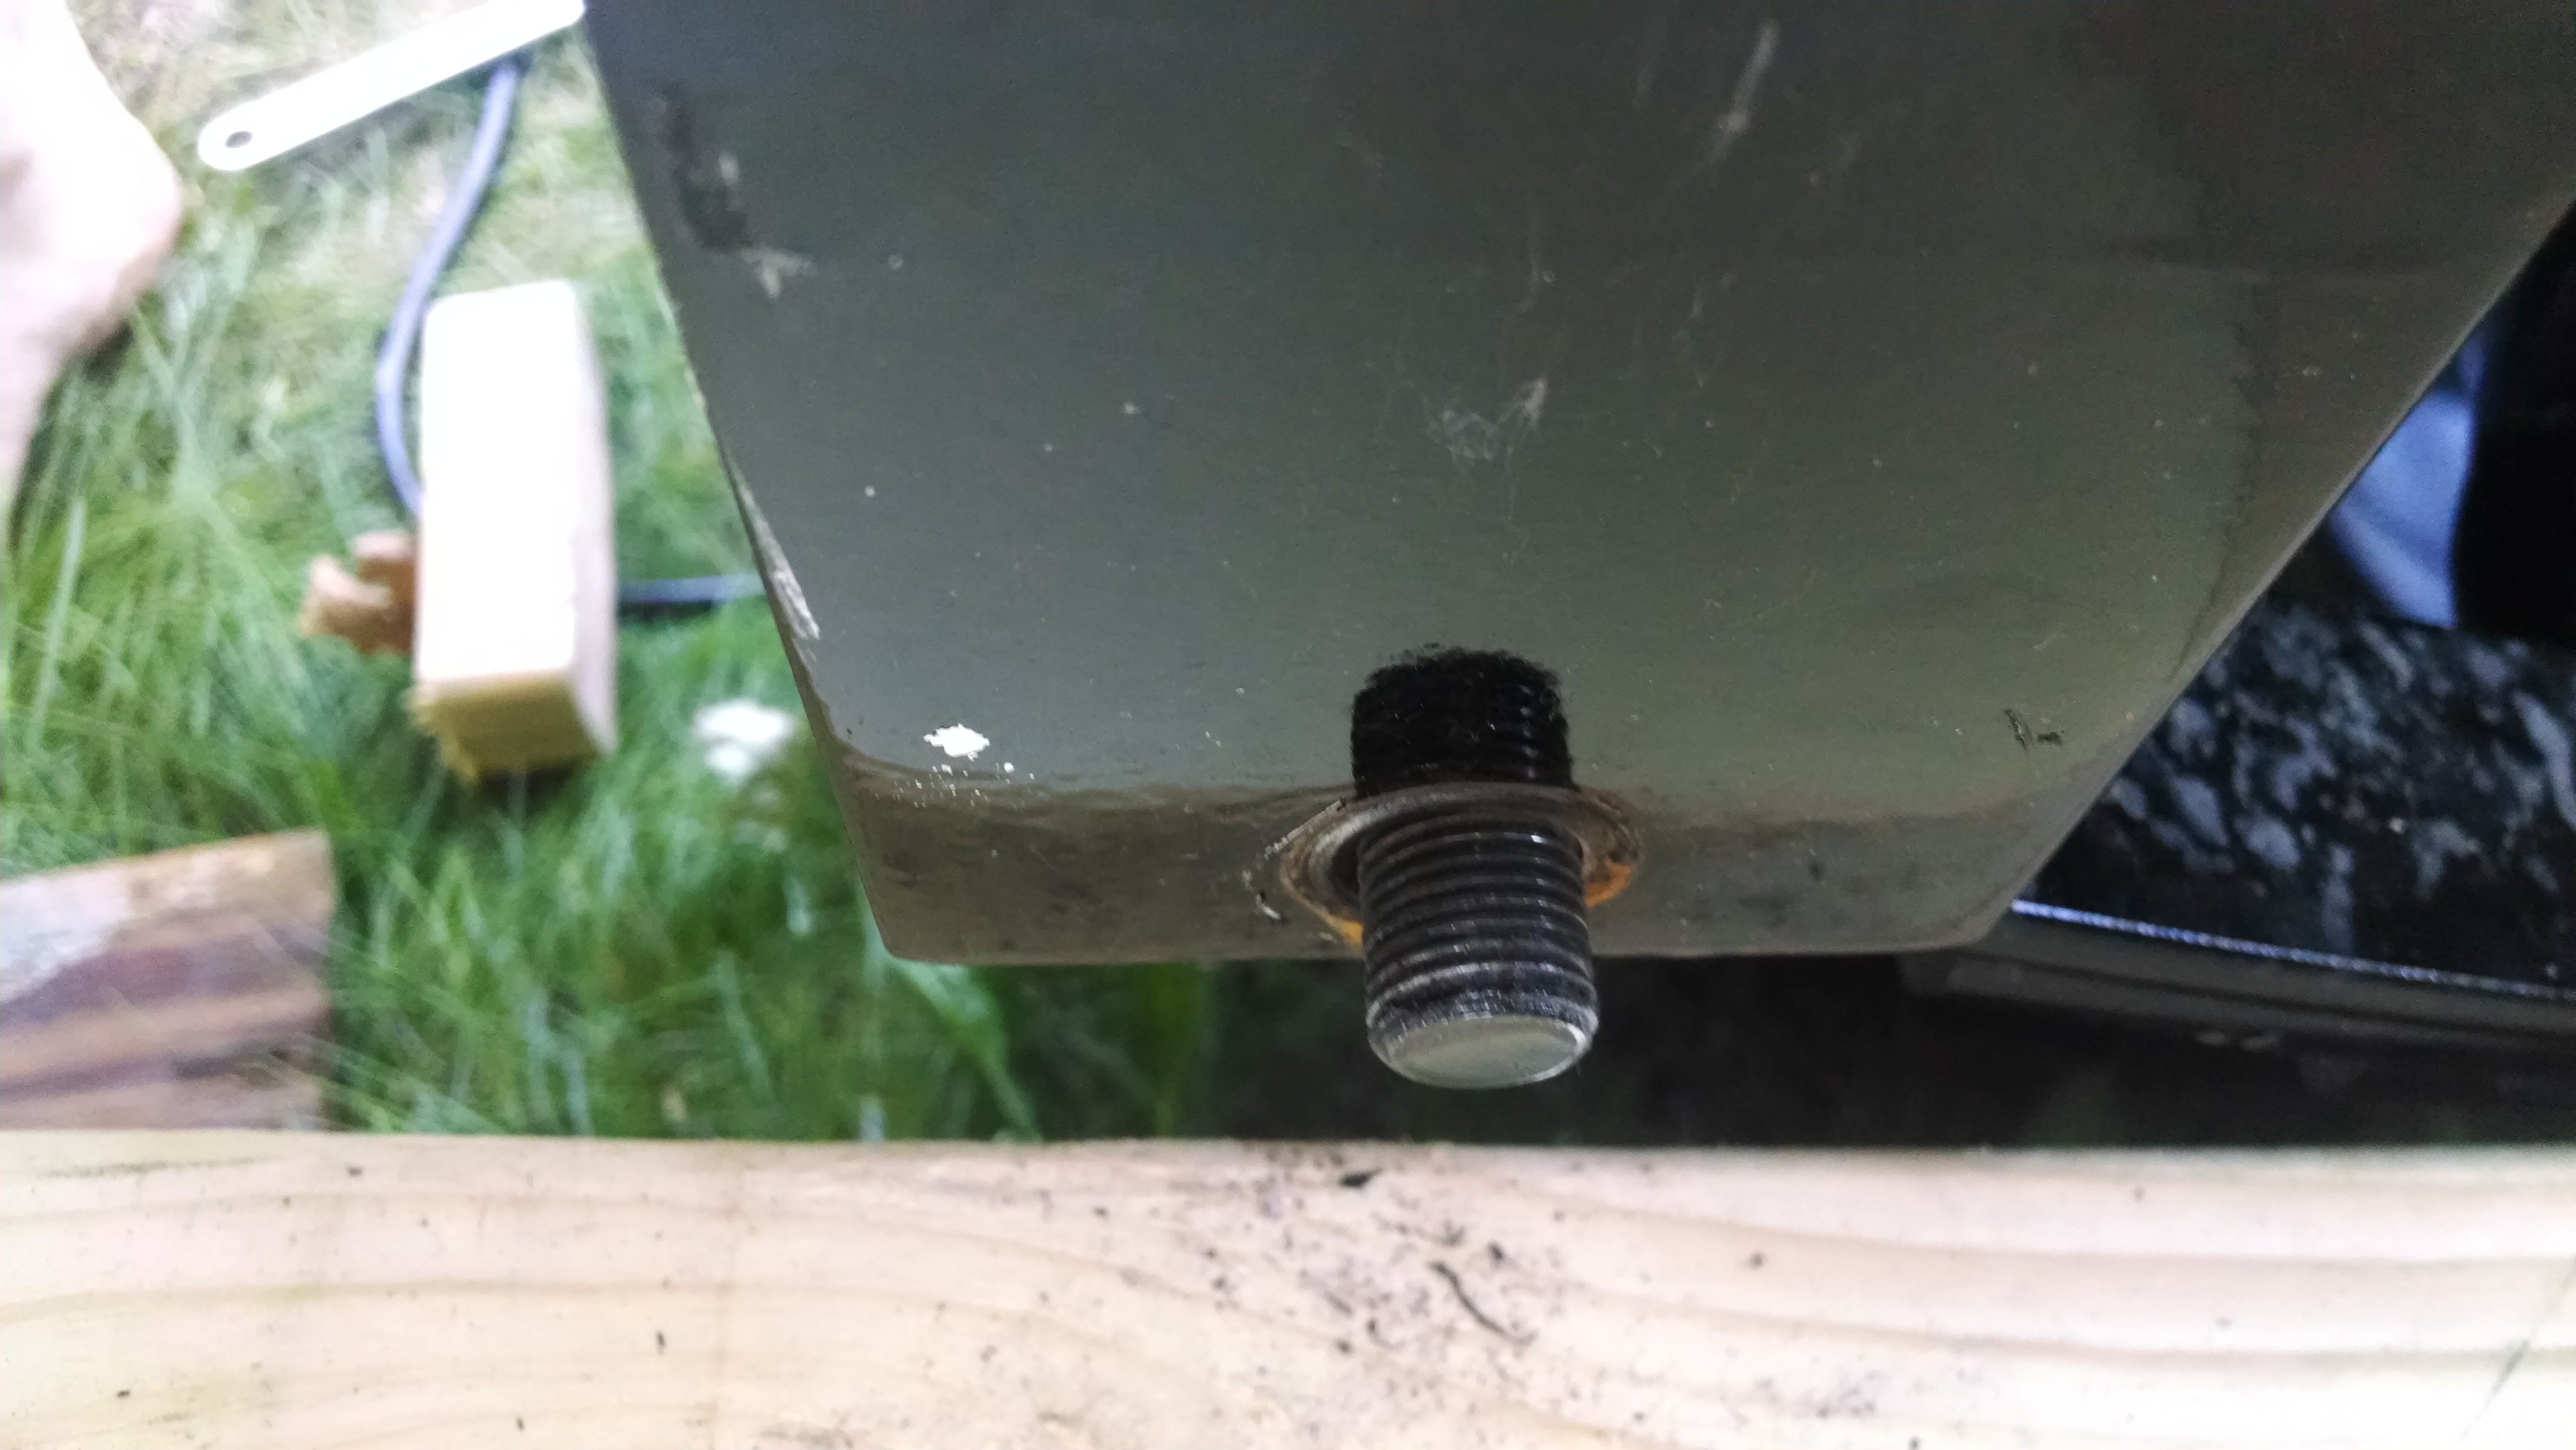 had to partially remove one of the leaf spring bolts so the frame could fit by it
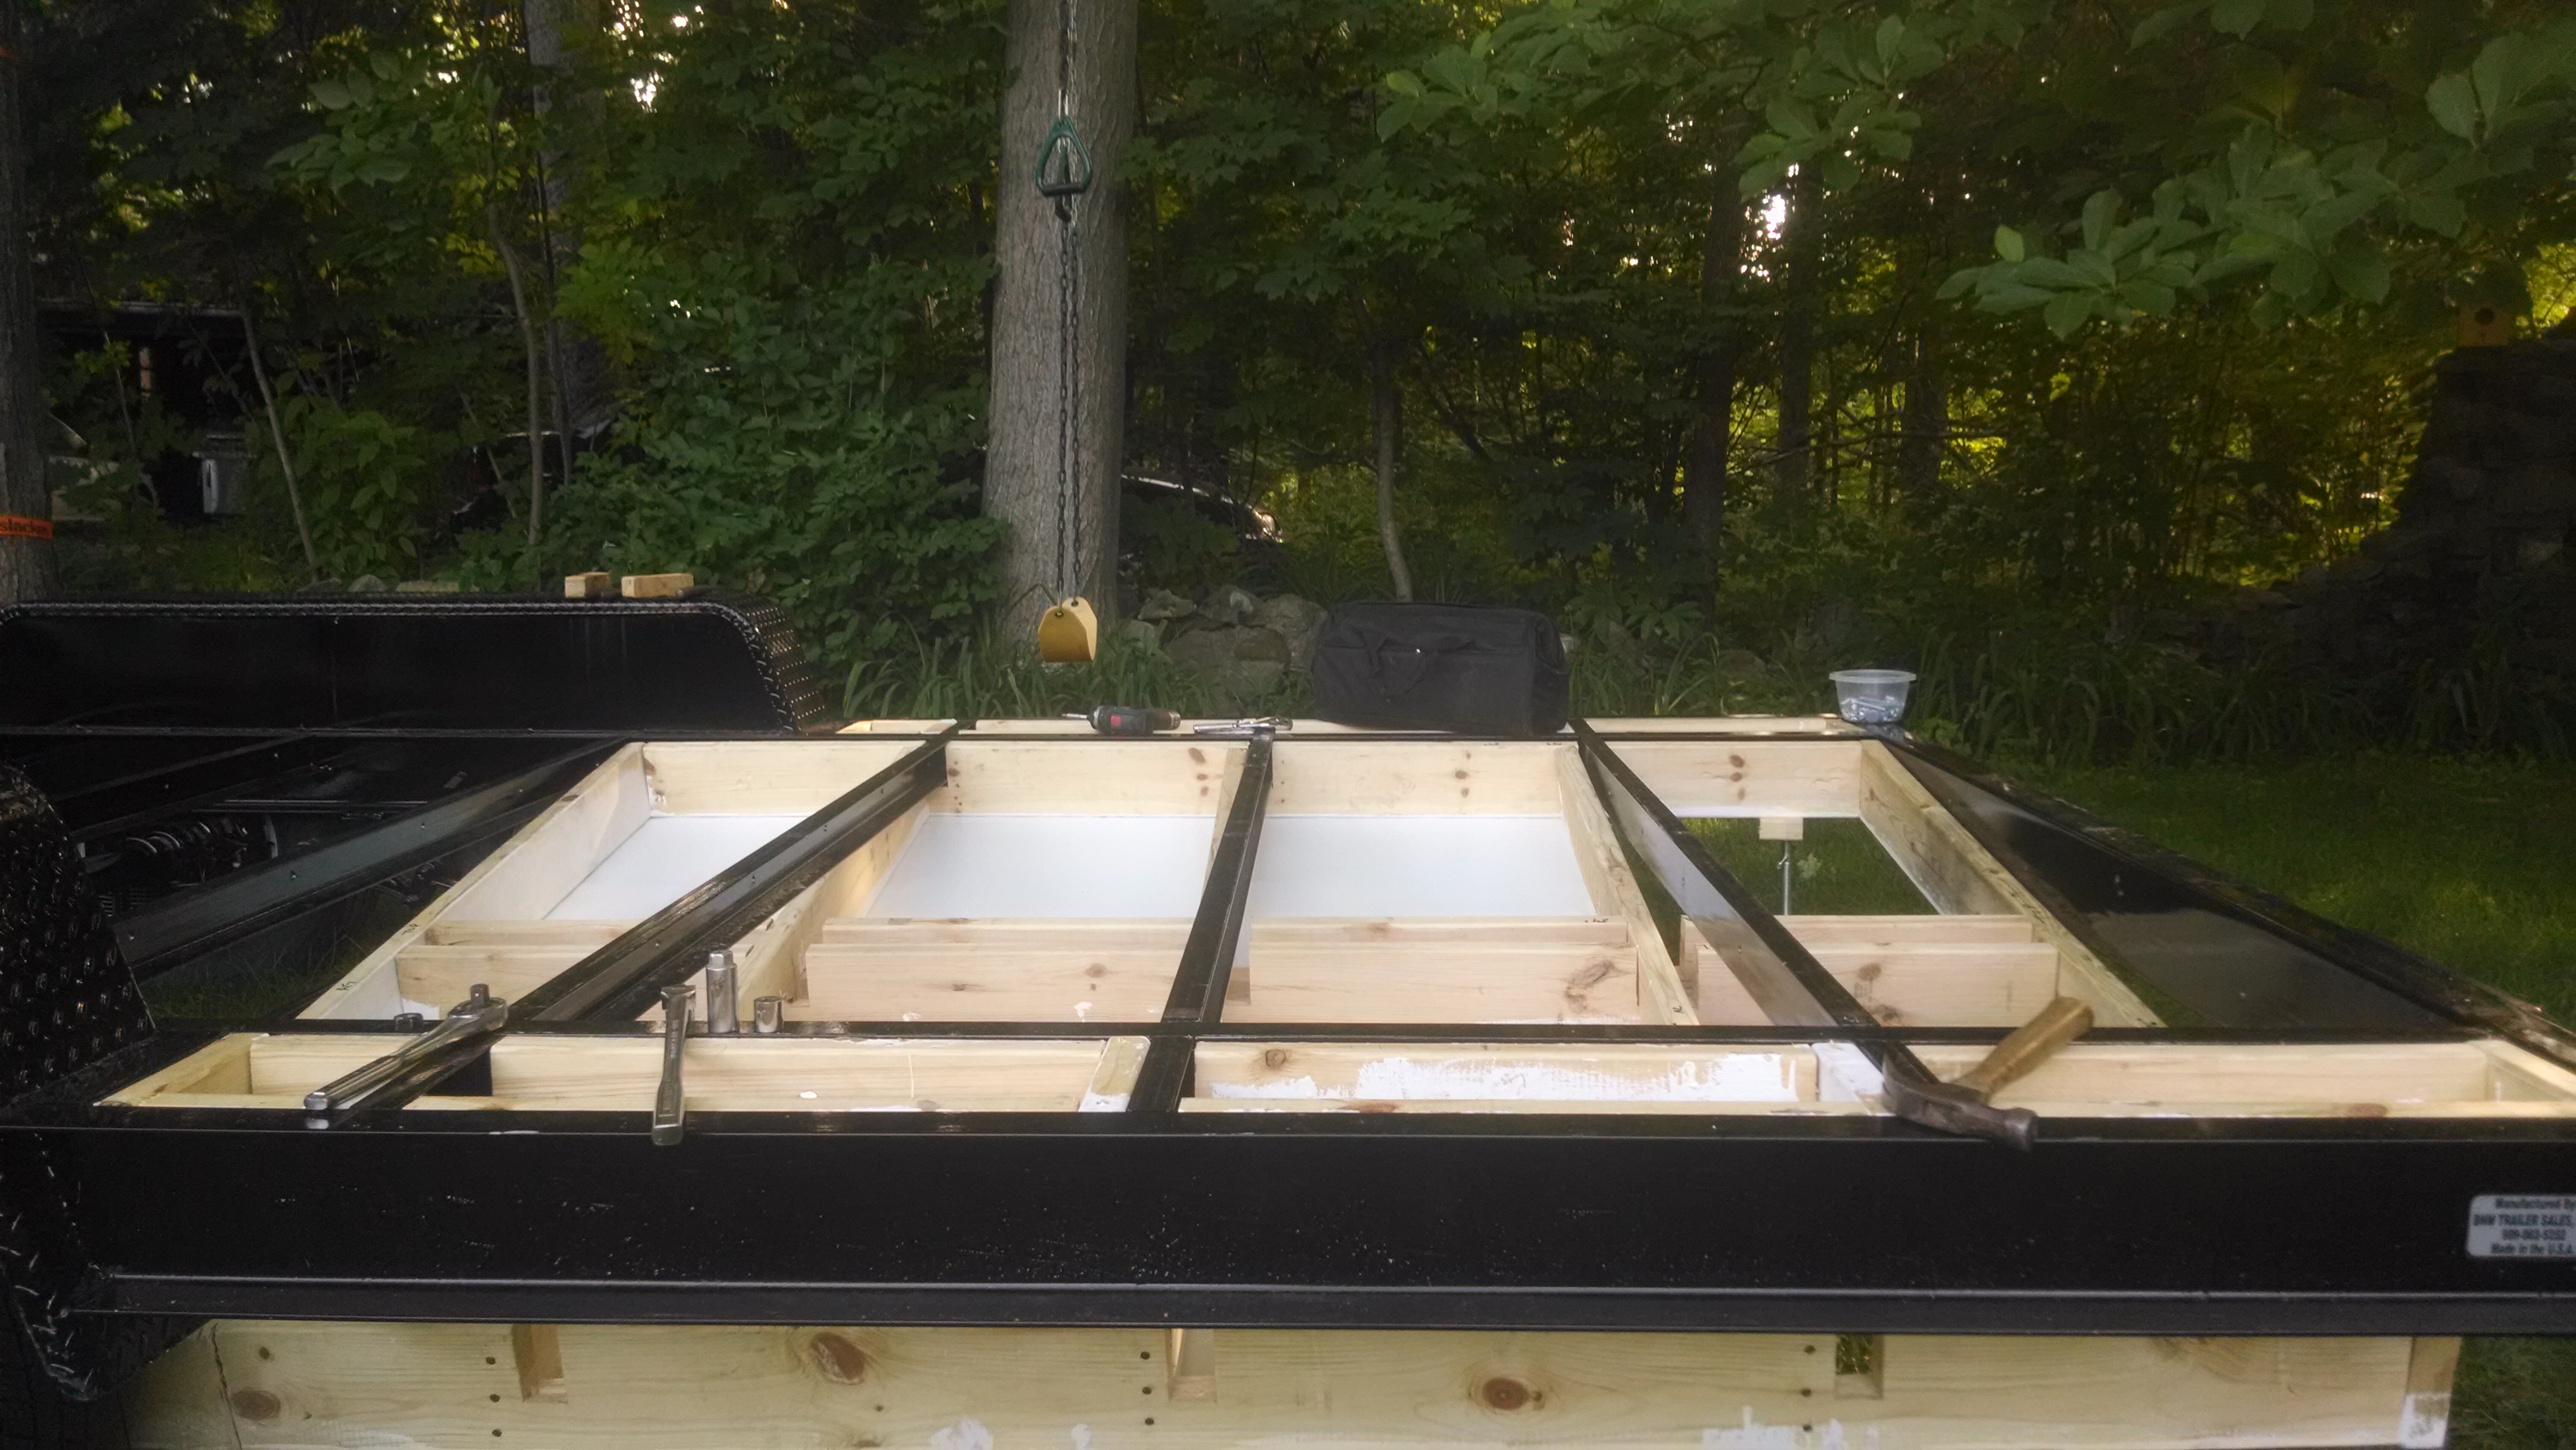 it took most of a day to get it in place
After my experience with the first frame --it was really hard to get it into position-- I realized that using the same method for the rest of the trailer would be impossible: the middle section had the axles and the front section had the rear part of the tongue. So instead I bolted the individual boards to the rails, one at a time, then attached the secondary members to them. This was also time consuming, but it worked, so eventually, I ended up with this:
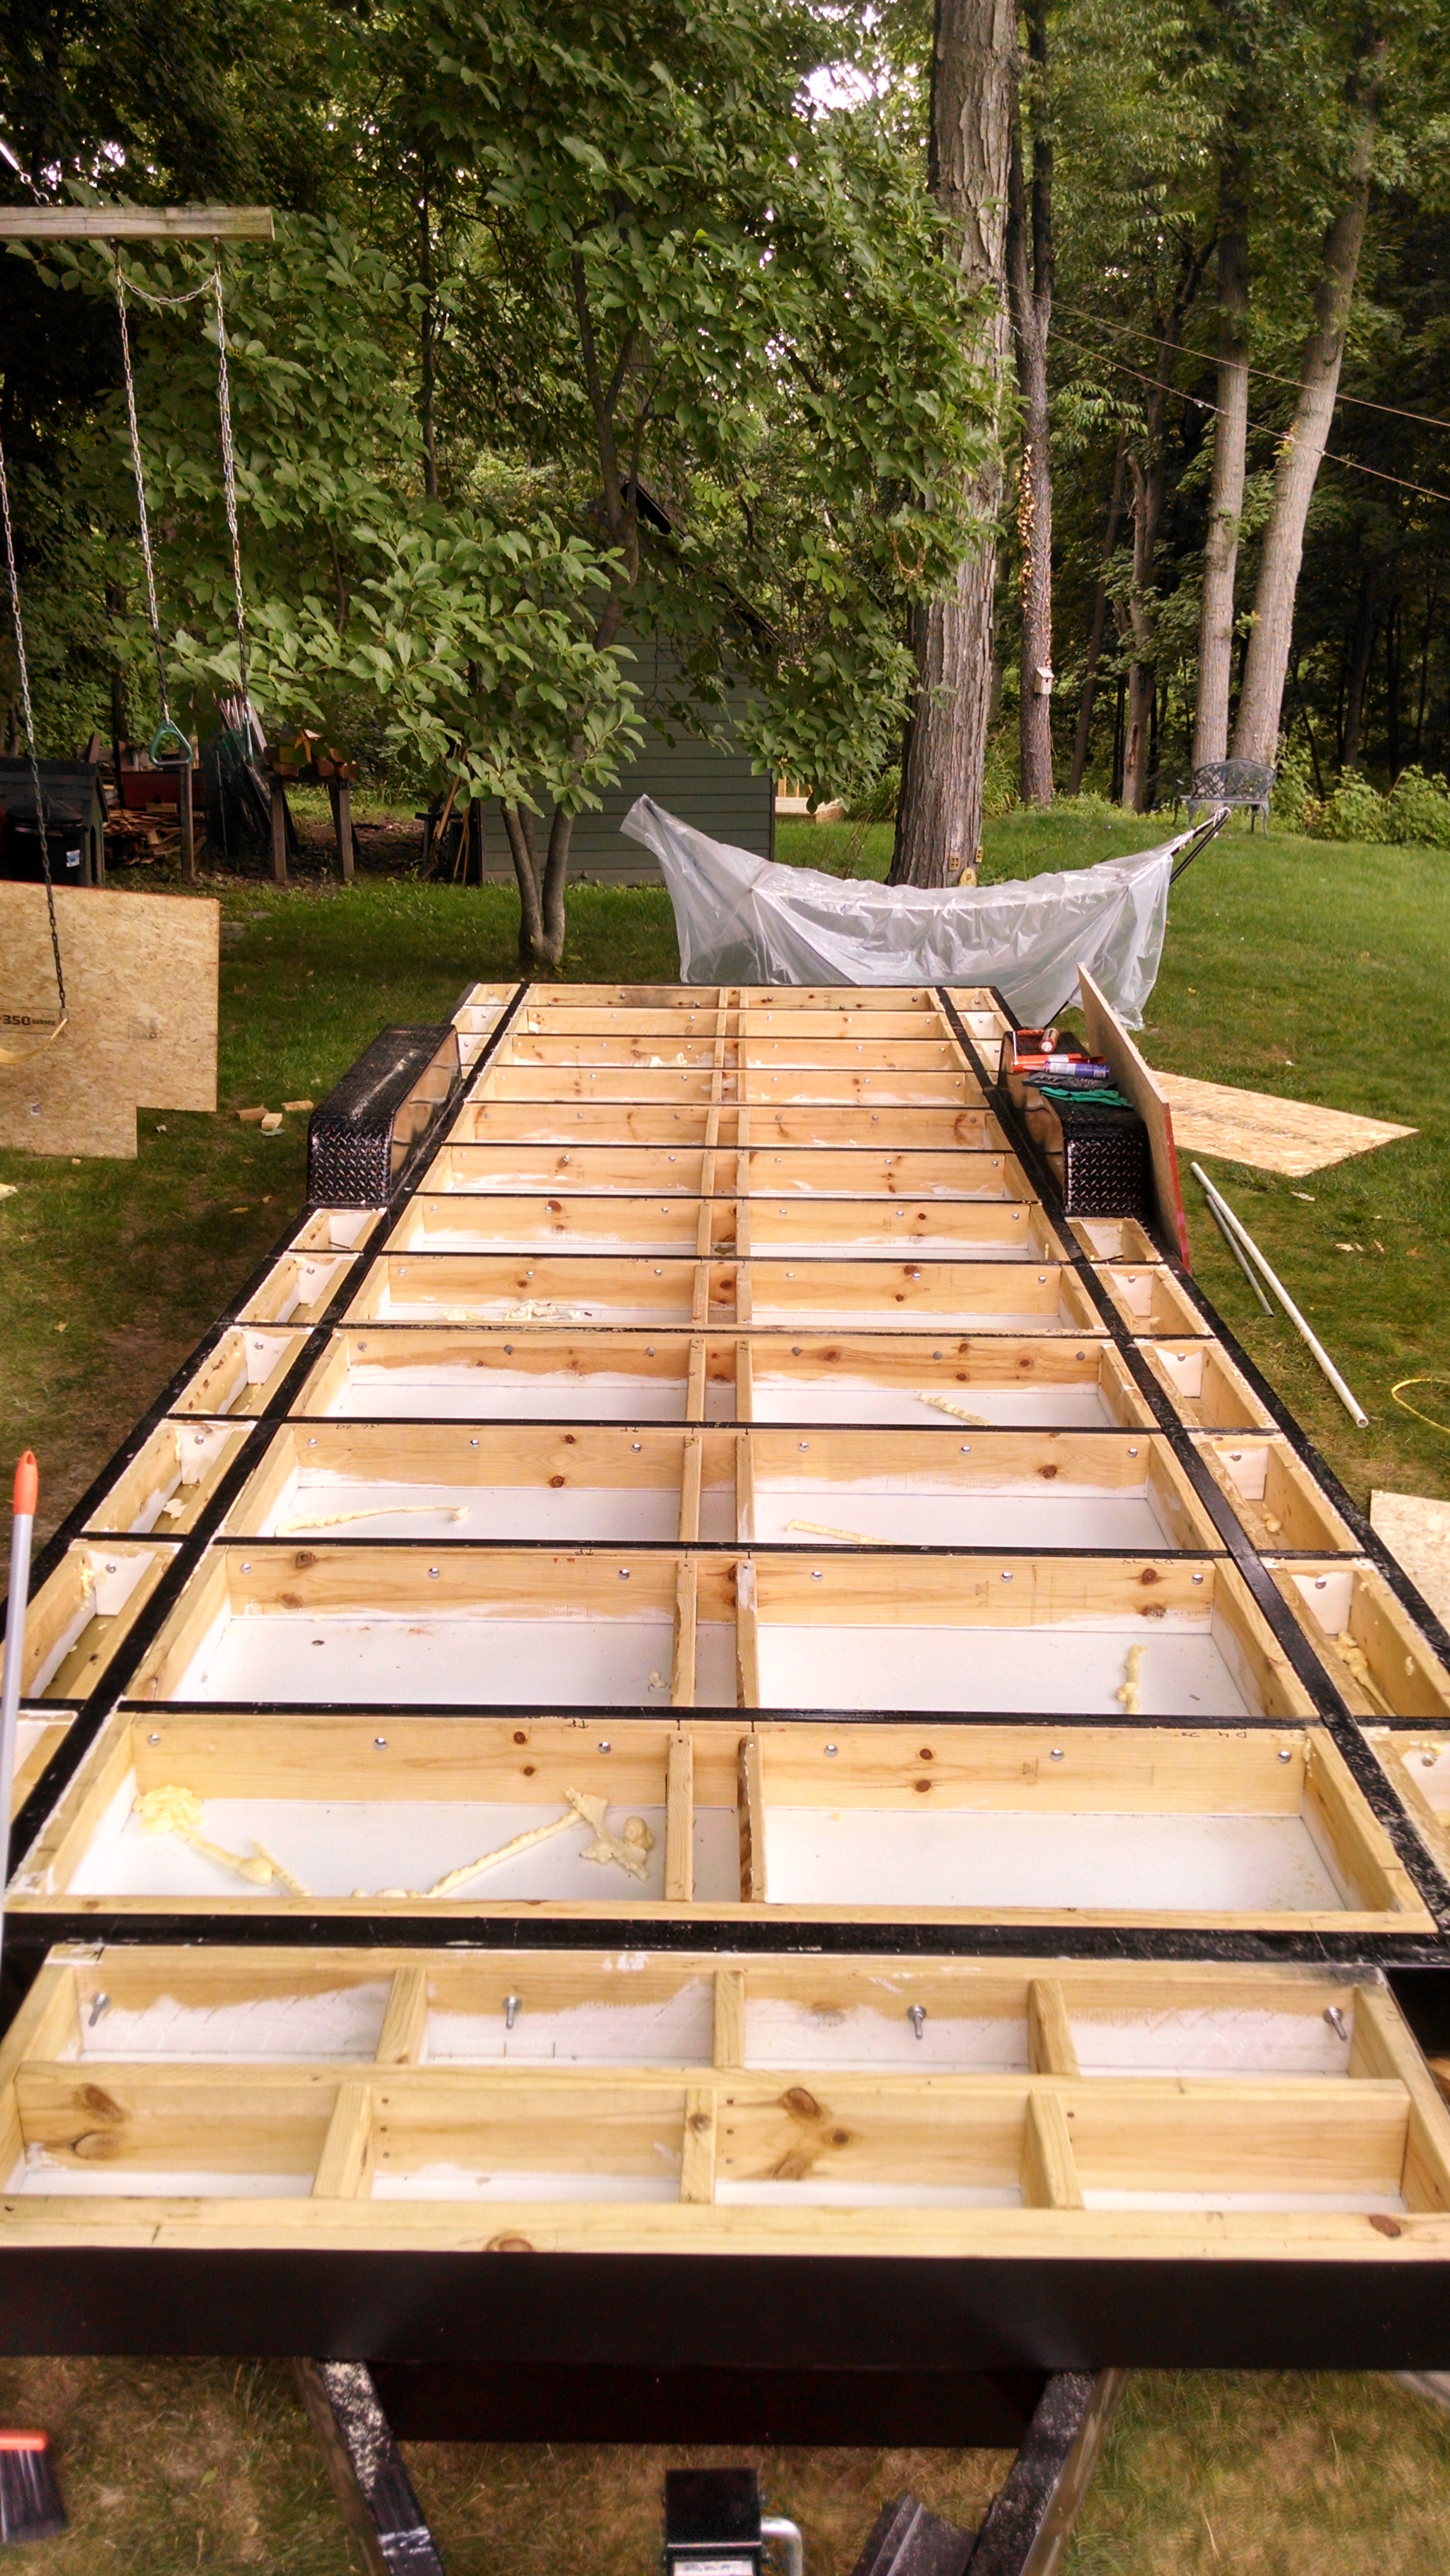 finished subfloor framing
A few things I'd like to point out: the underside is covered with rolled aluminum flashing. I bought a pneumatic narrow-crown stapler for $60 (I already had an air compressor) and it made attaching the aluminum to each section of frame fairly easy. The aluminum does not give a tight seal. There was no sealing the edges with caulk or adding a layer of Tyvex. I don't want the bottom to be airtight. I'm going to use a woodstove for heat, so I need some way for air to get in to the house, and I want the insulation in the floor to be able to dry out if it ever does get wet. Once the subfloor and finished floor are on there shouldn't be many air leaks, hopefully just enough that the stove will pull a good draft.
Second, see that little section built out over the tongue? Here's a better picture
 wooden extension to the frame over the tongue, prior to attachment
 the bottom of the frame extension, where I added some preservative treated oak shims to bring it up to the right height
 securely bolted to the frame (and tongue underneath)
This extension lets me use the tongue area. There will be a refrigerator, closet and (in the loft) the head of a bed) above it.
Third, see that double row of 2x6s running down the middle of the framing? I was thinking that I would use one 4x8 sheet of subfloor on one side, one on the other, and then a 4" strip down the center, so I needed to supprt two edges right down the center. After I finished the framing, I realized that was kind of dumb, I could have just used one. The thing is, when I put on the OSB subfloor, if you can imagine, I used one full sheets pushed towards the left side of the trailer, a second trimmed to about 42" wide right up against it, then the edge of that sheet and the 10" strip needed to make up the width came together over the metal rail of the trailer itself.
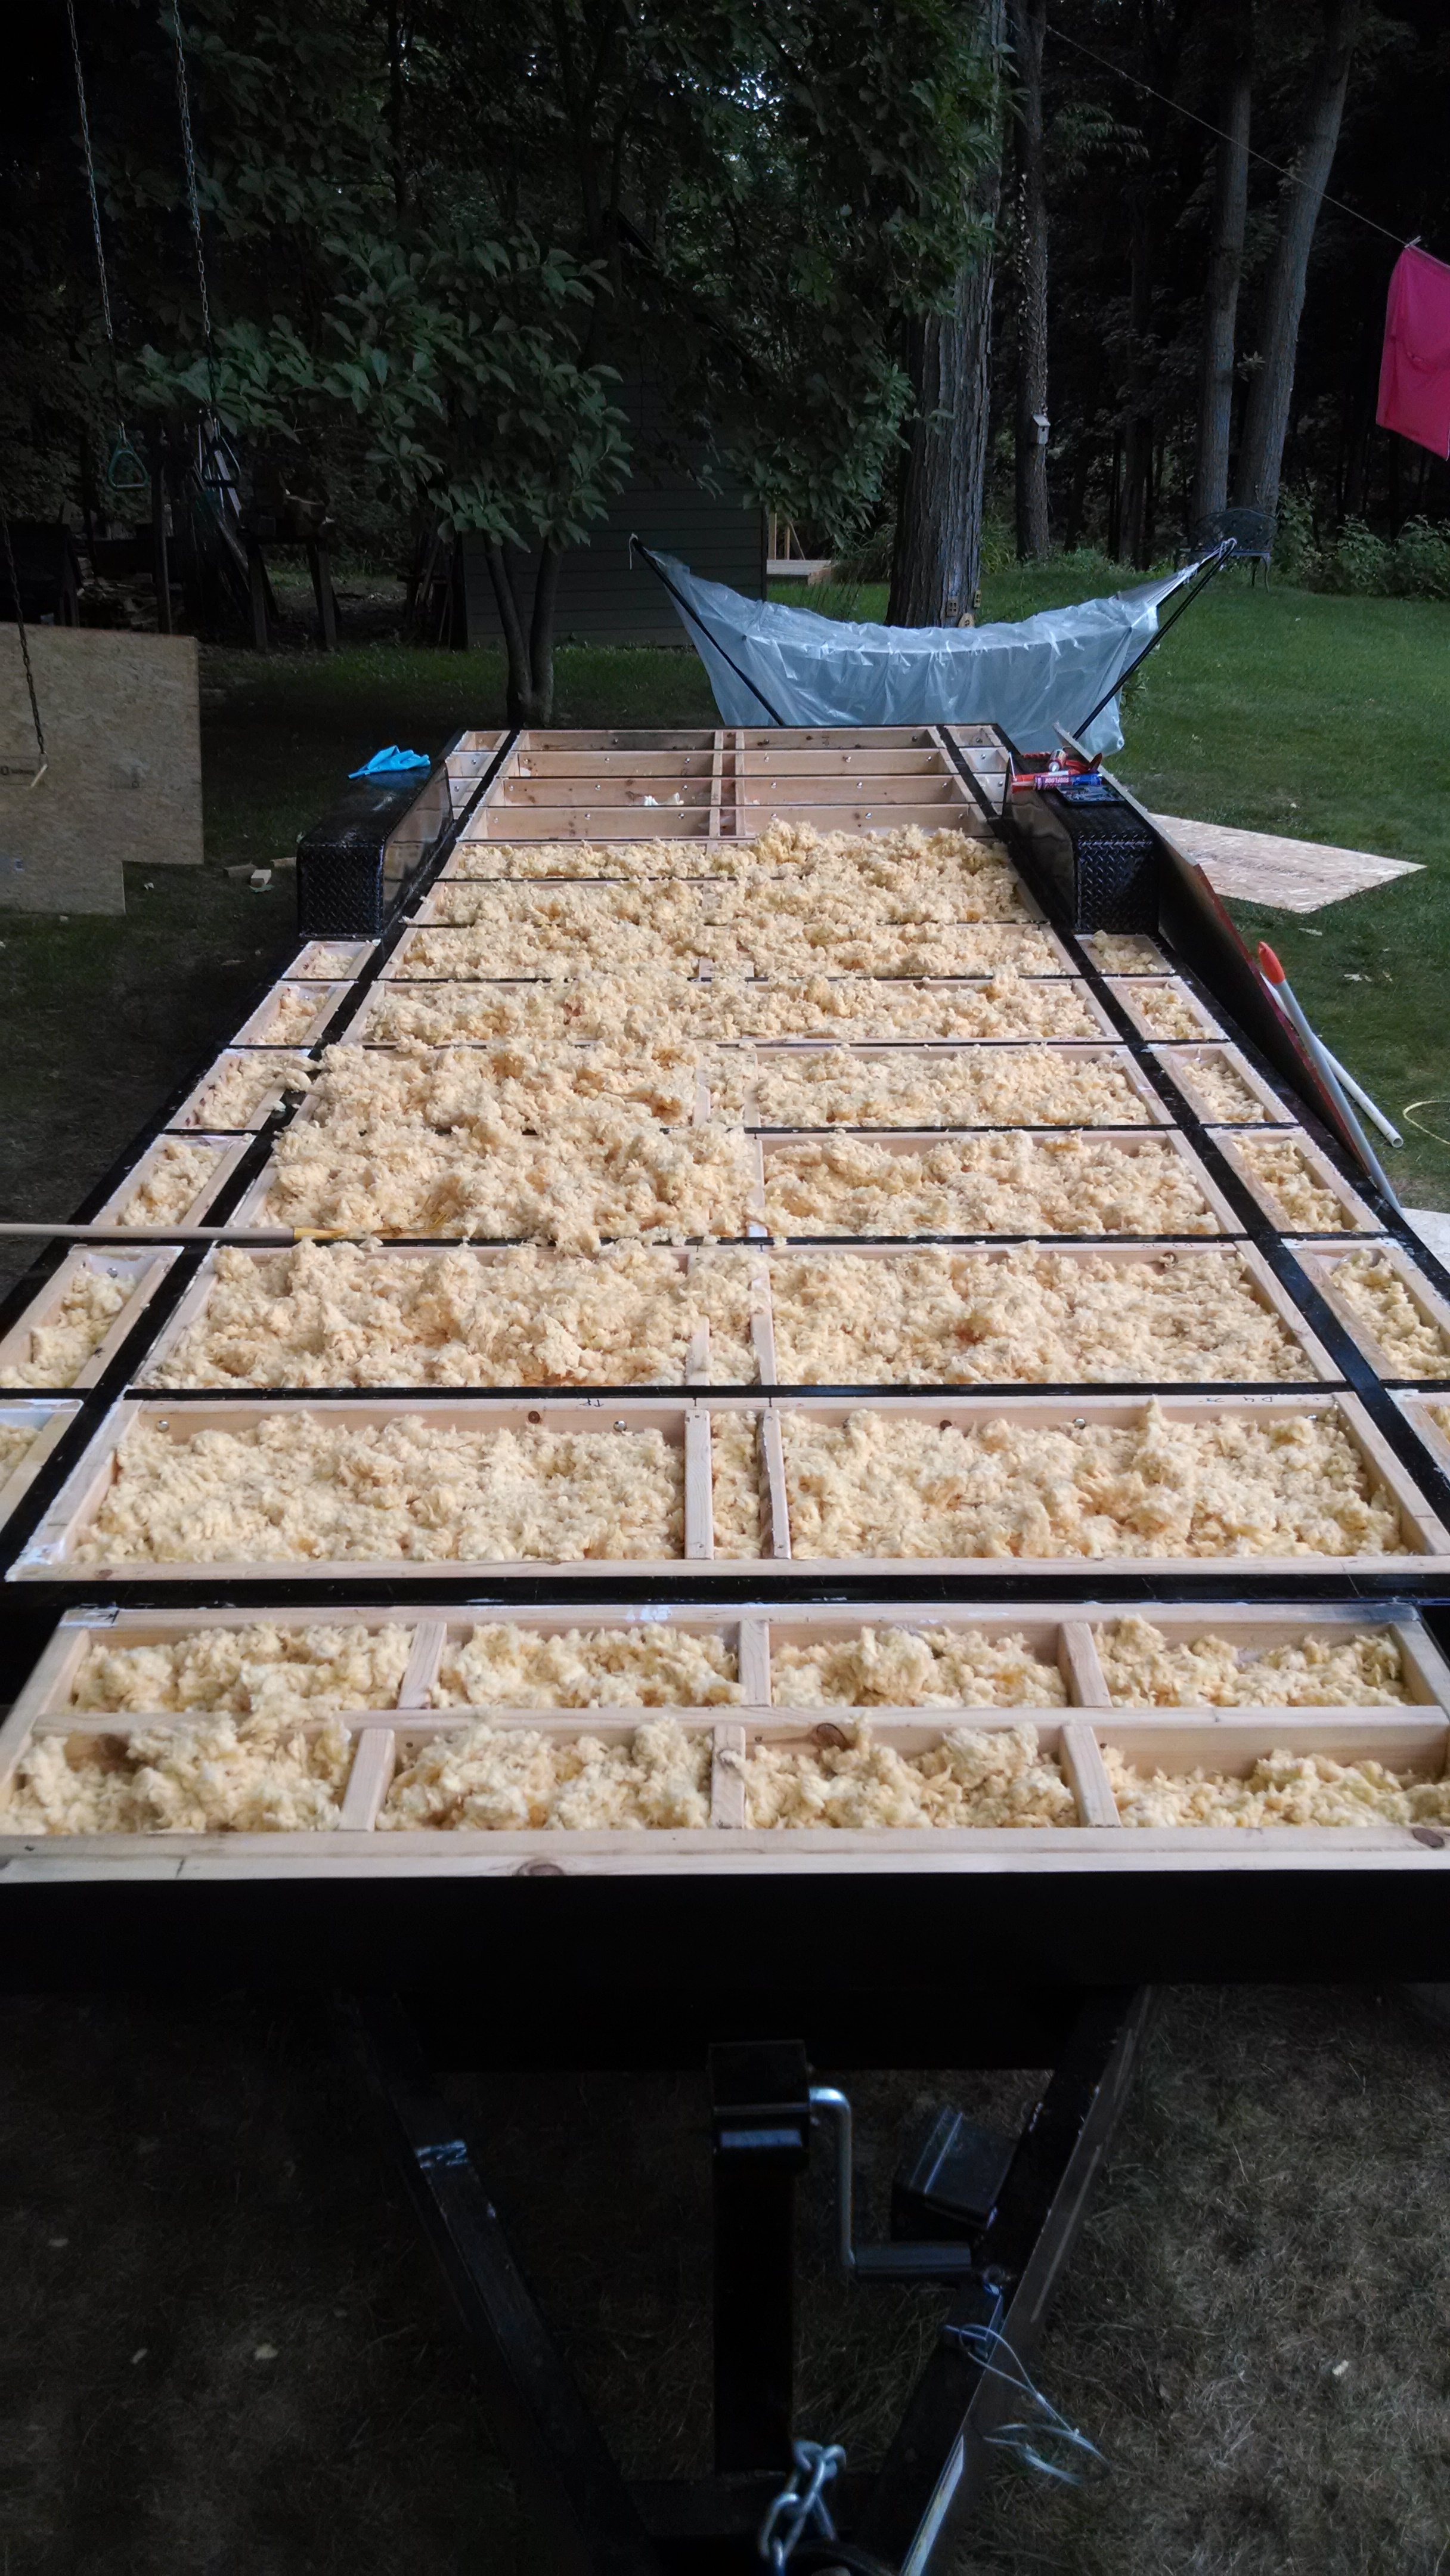 "shake and rake" fiberglass. insulation
Here's the insulation! I would have preferred rockwool, but I was at the point that I just needed to move forward, and I would have had to order the rockwool and wait, so I went with the fiberglass.
I covered the frame with 3/4" OSB, glued and screwed down. I can't seem to find any pictures of that though.